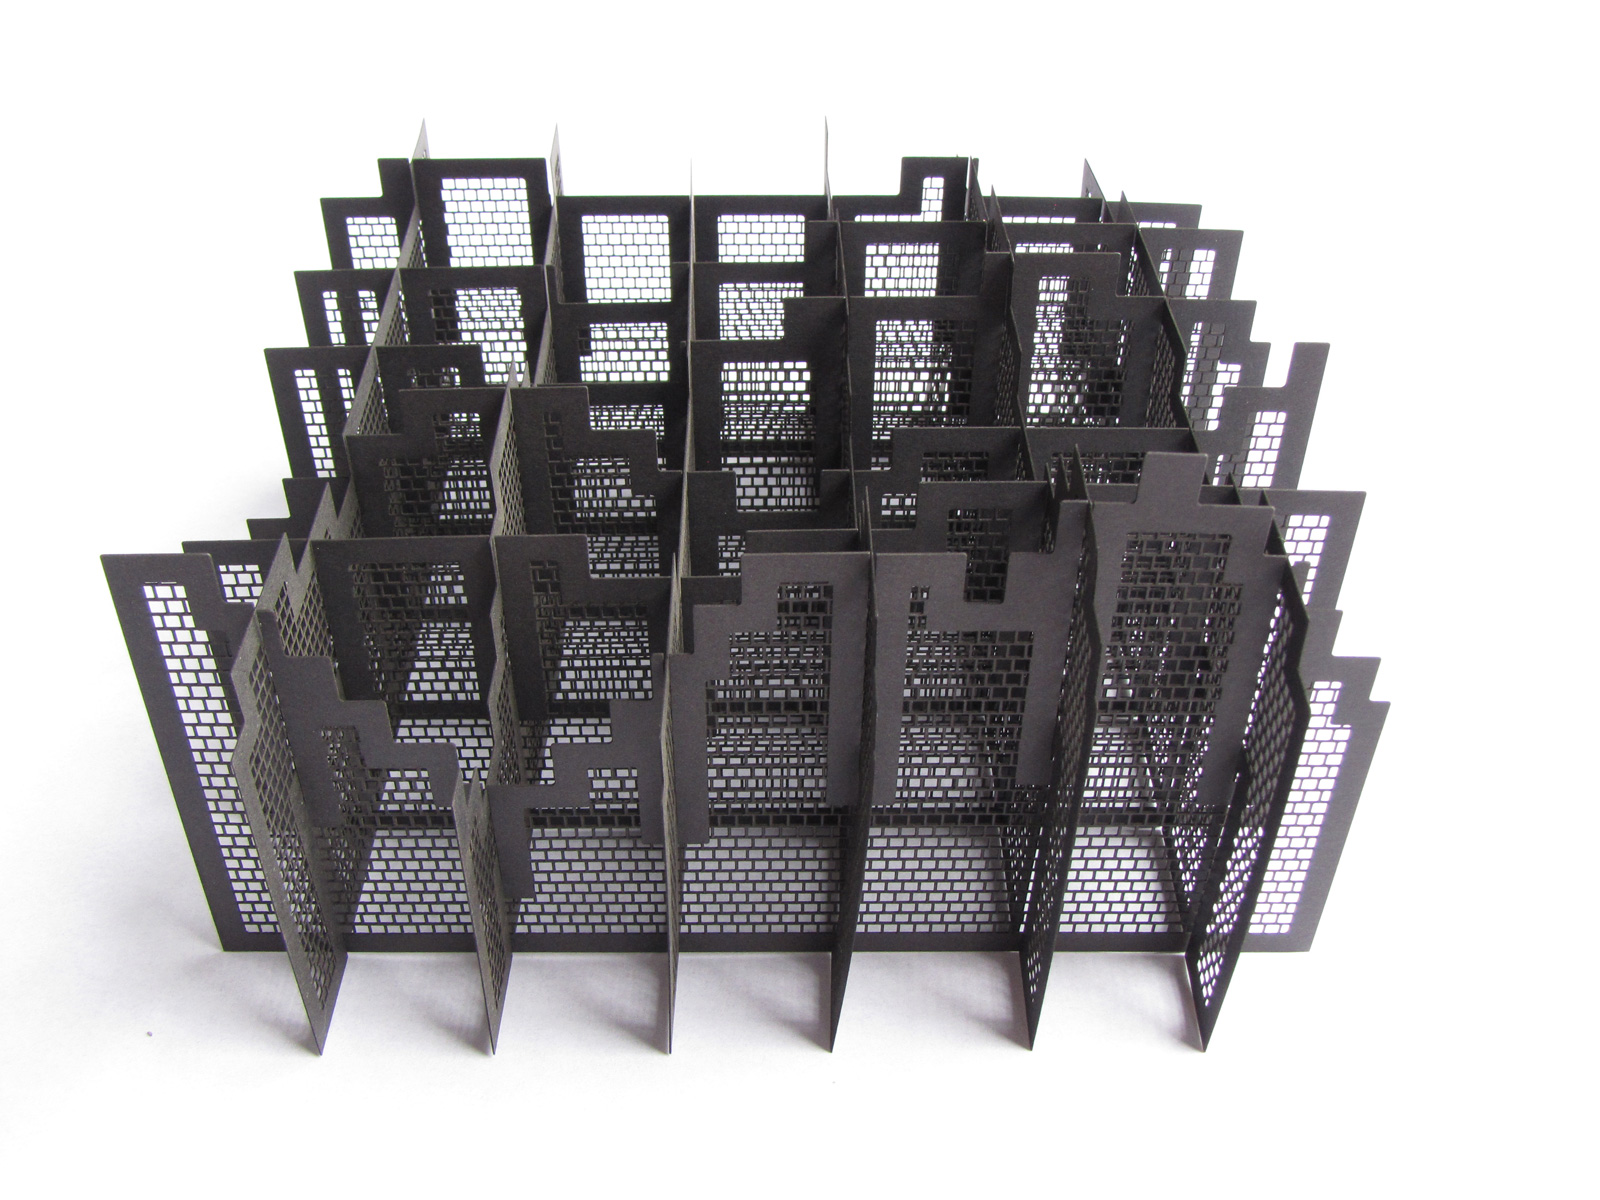
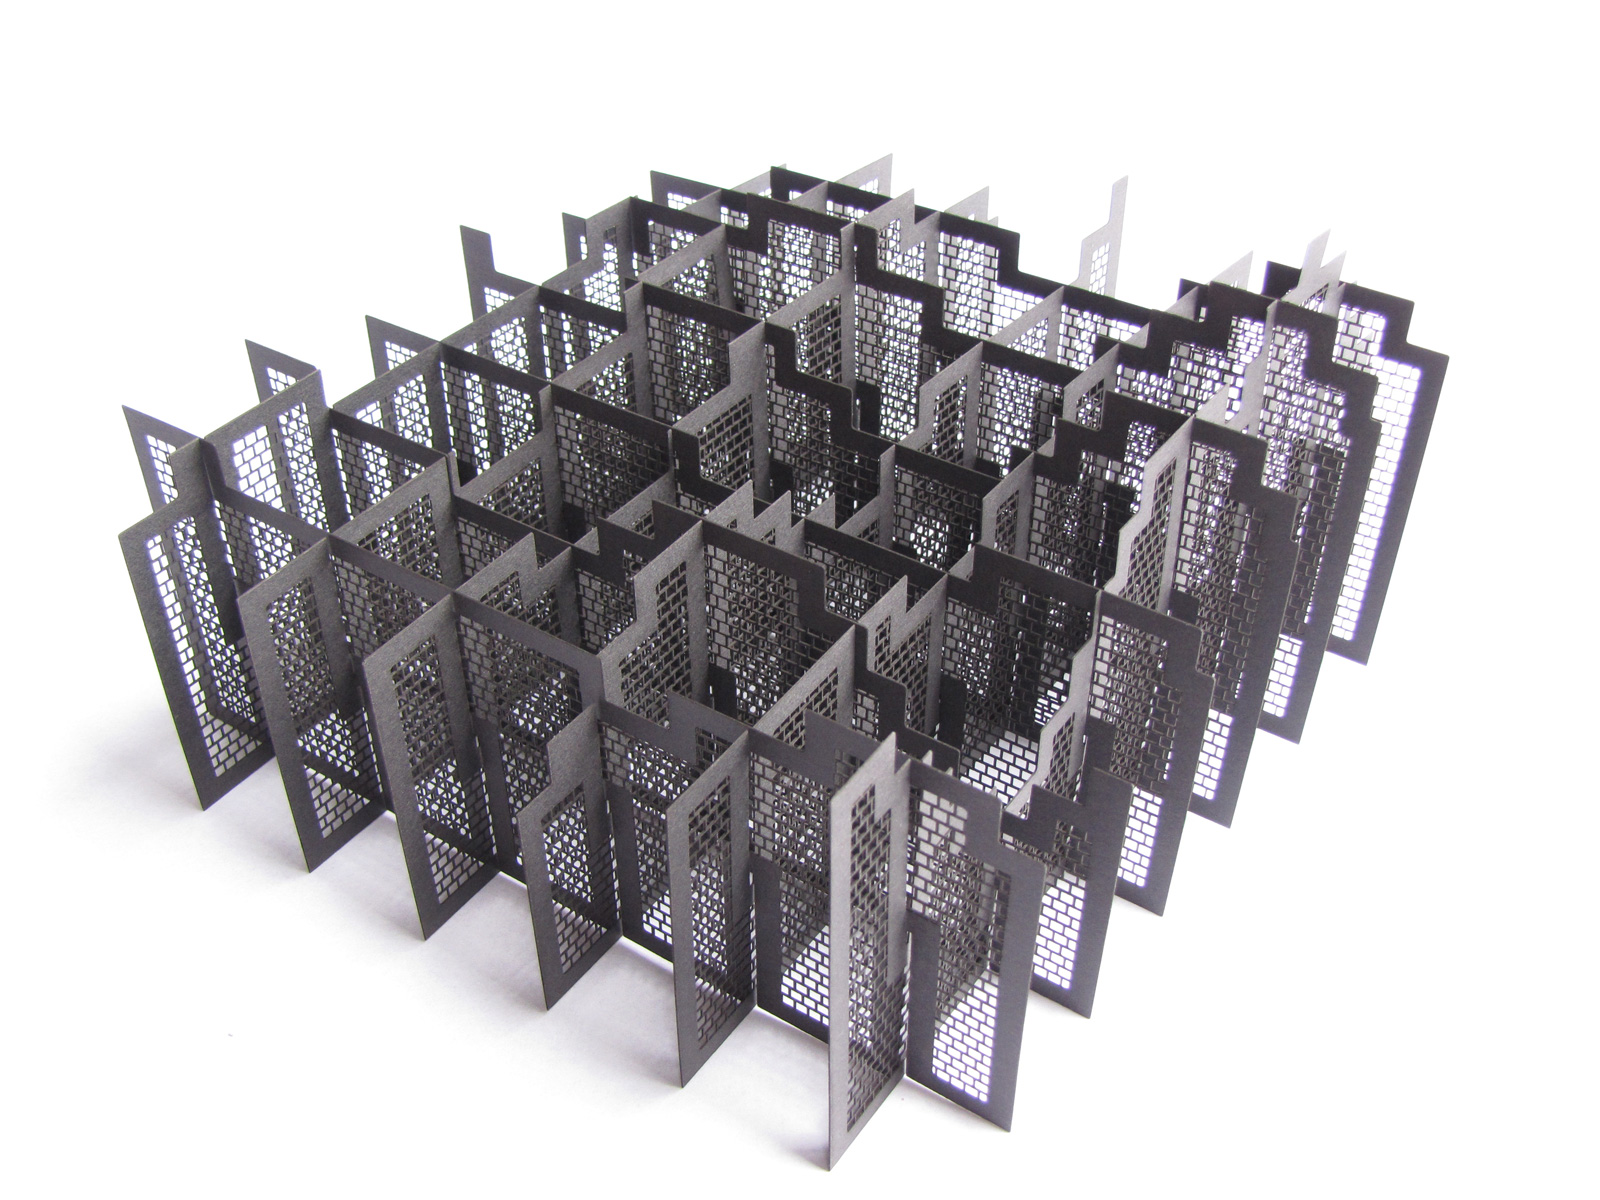
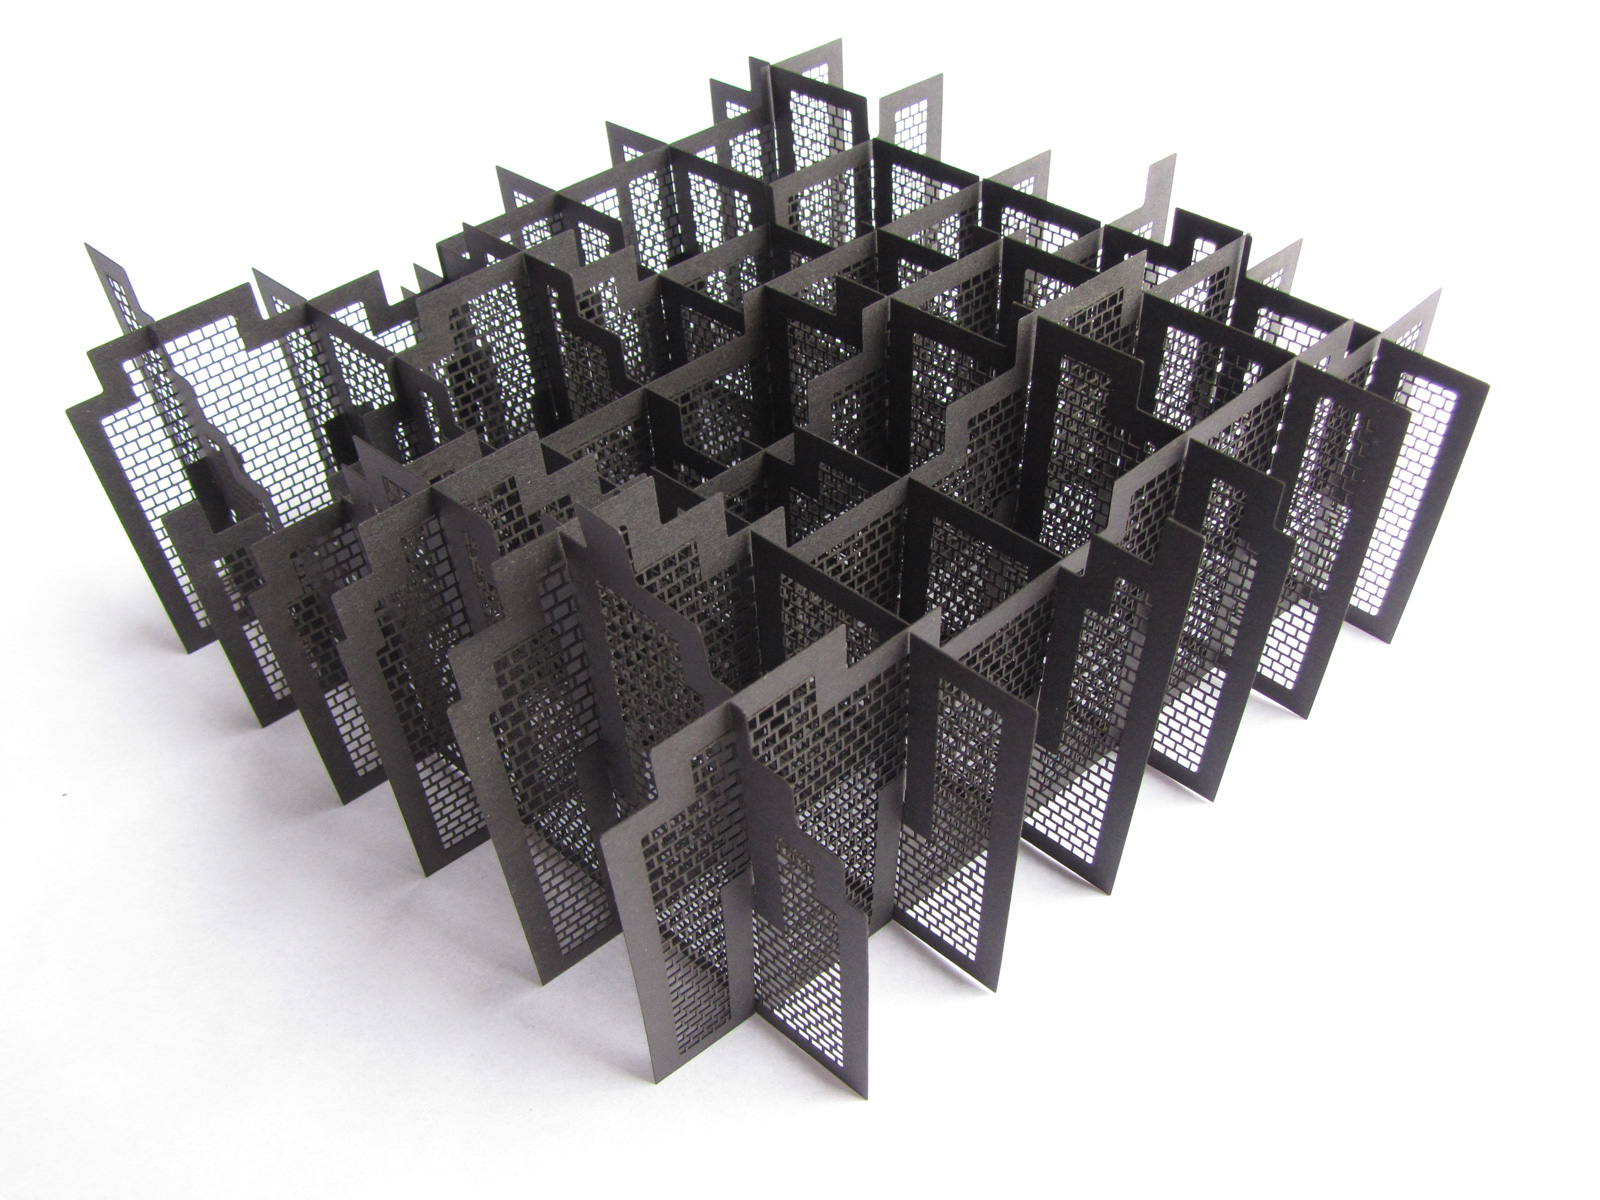
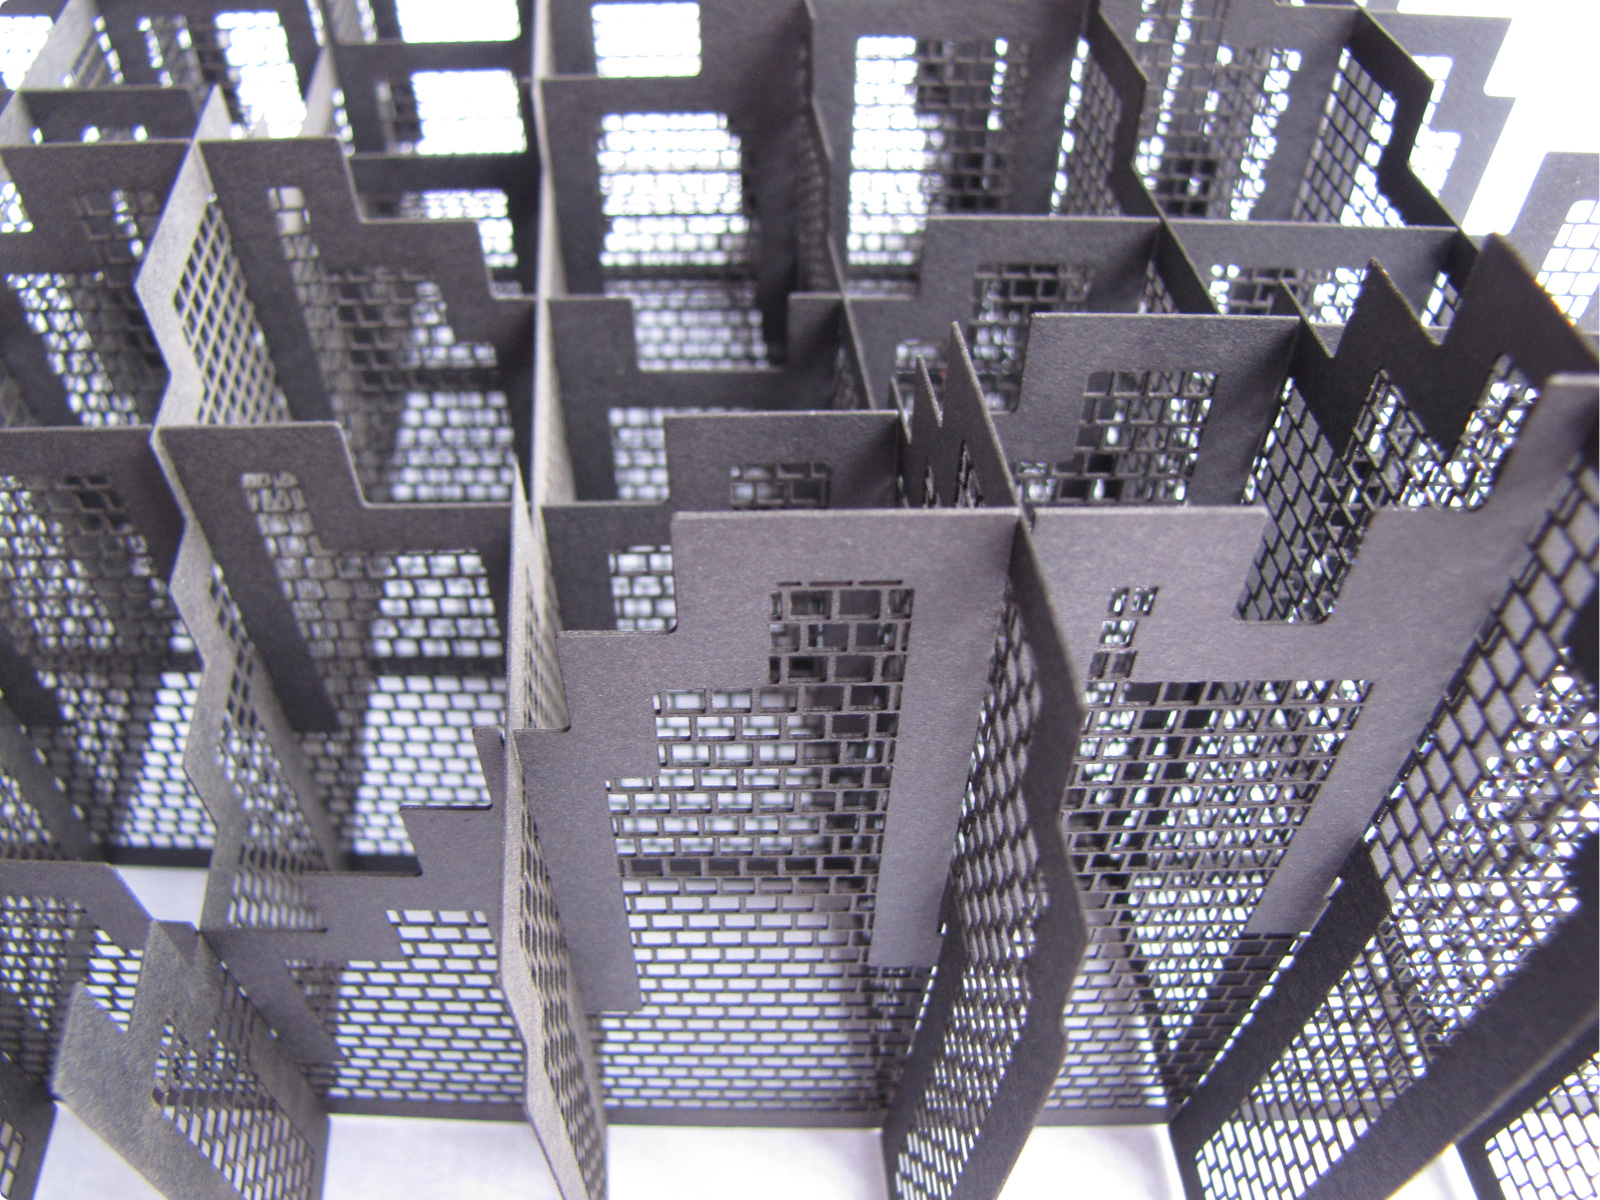
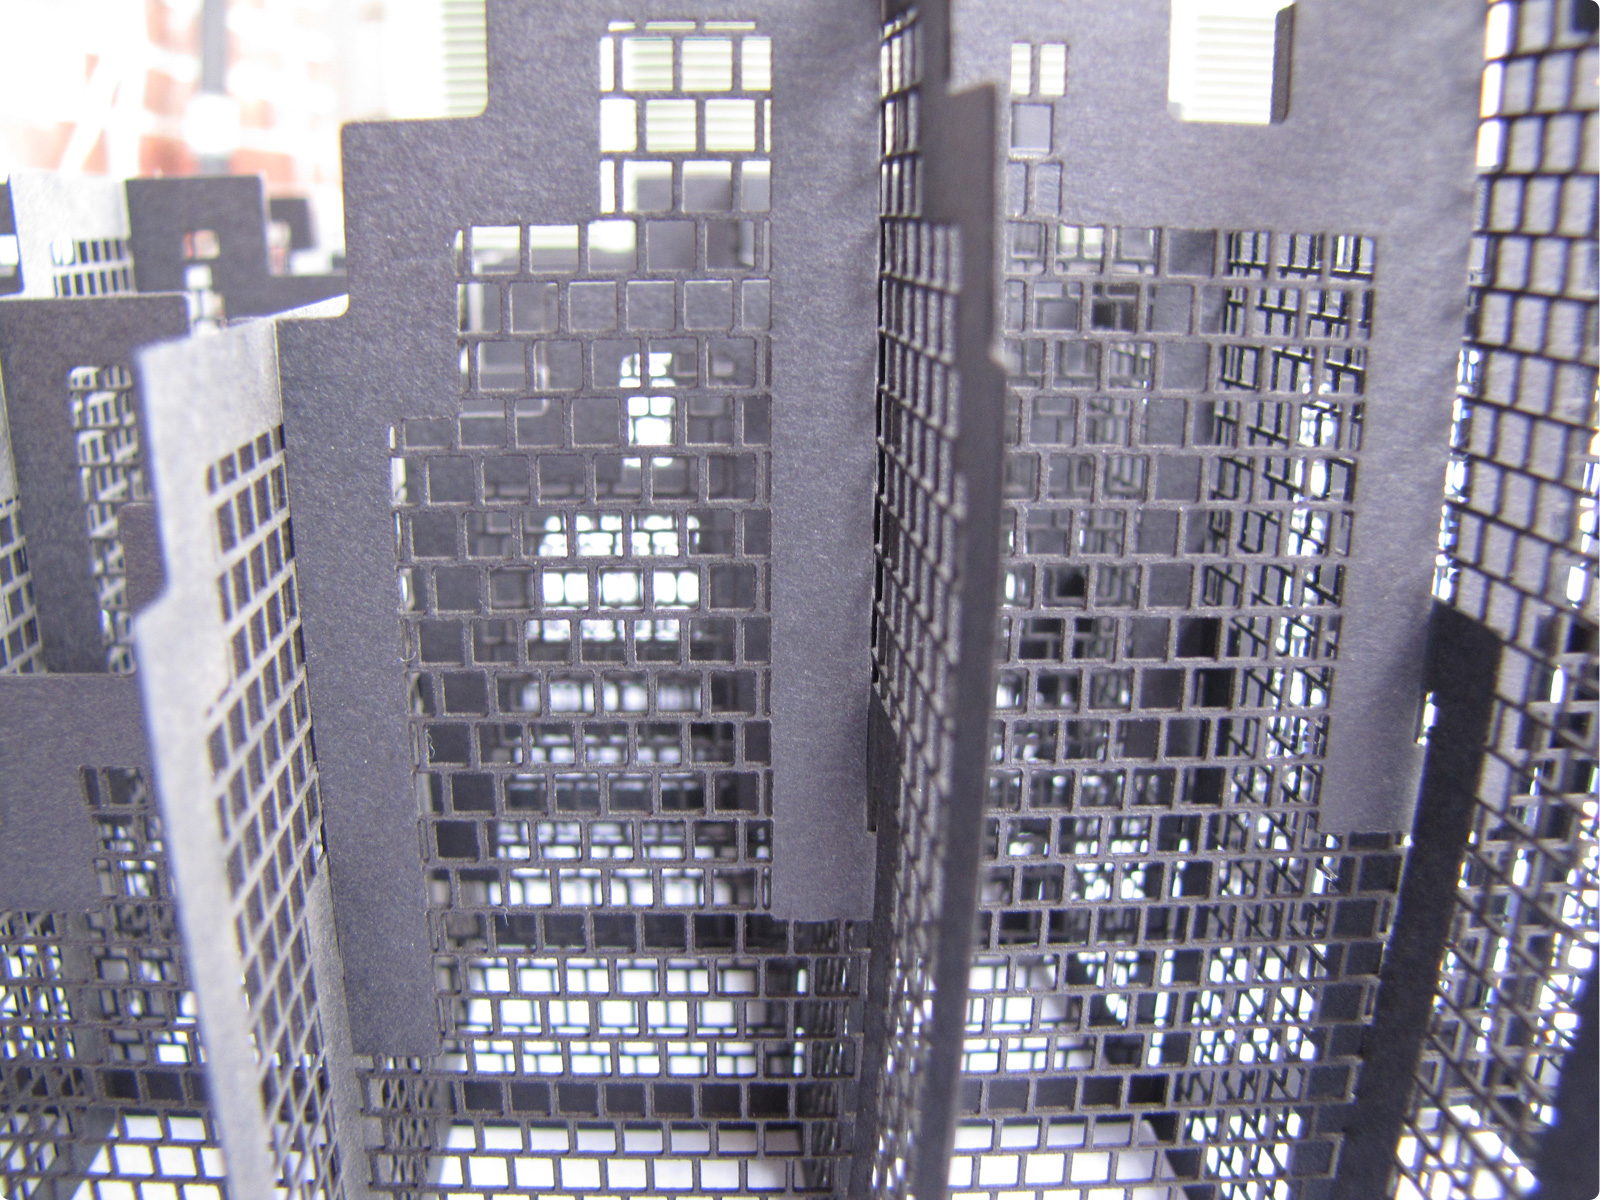
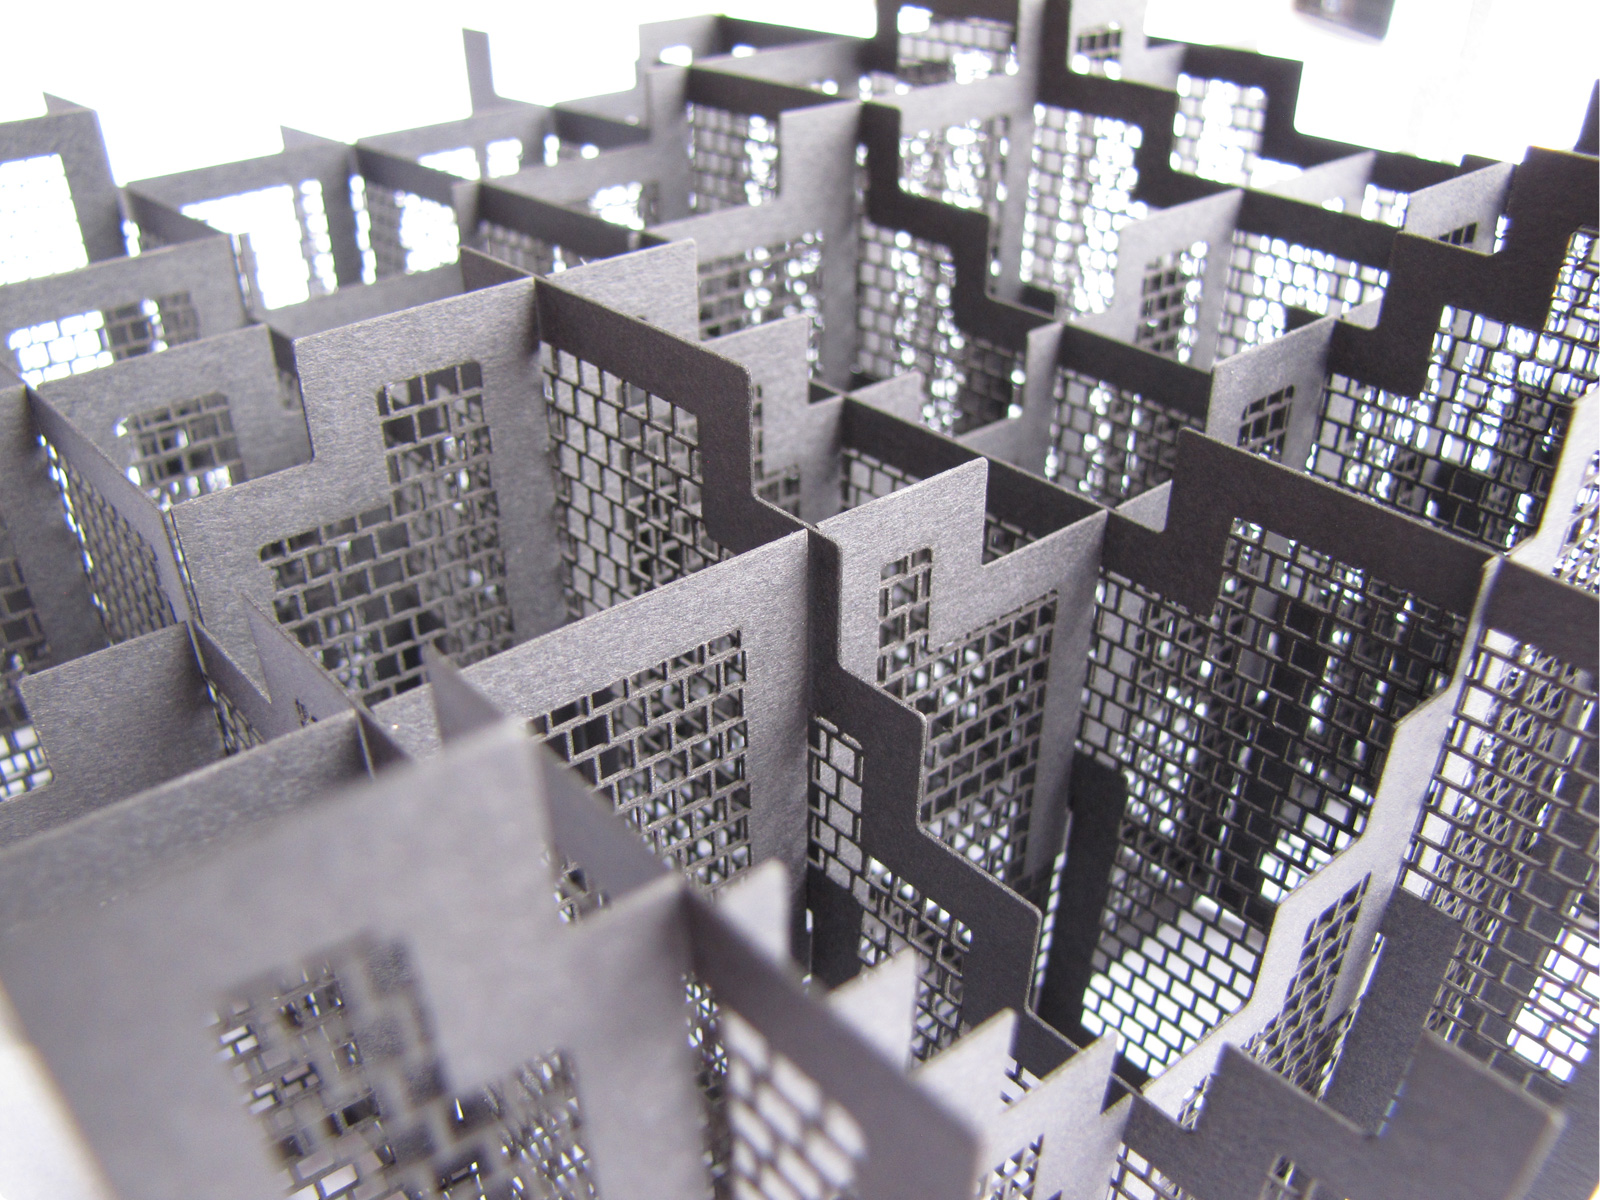
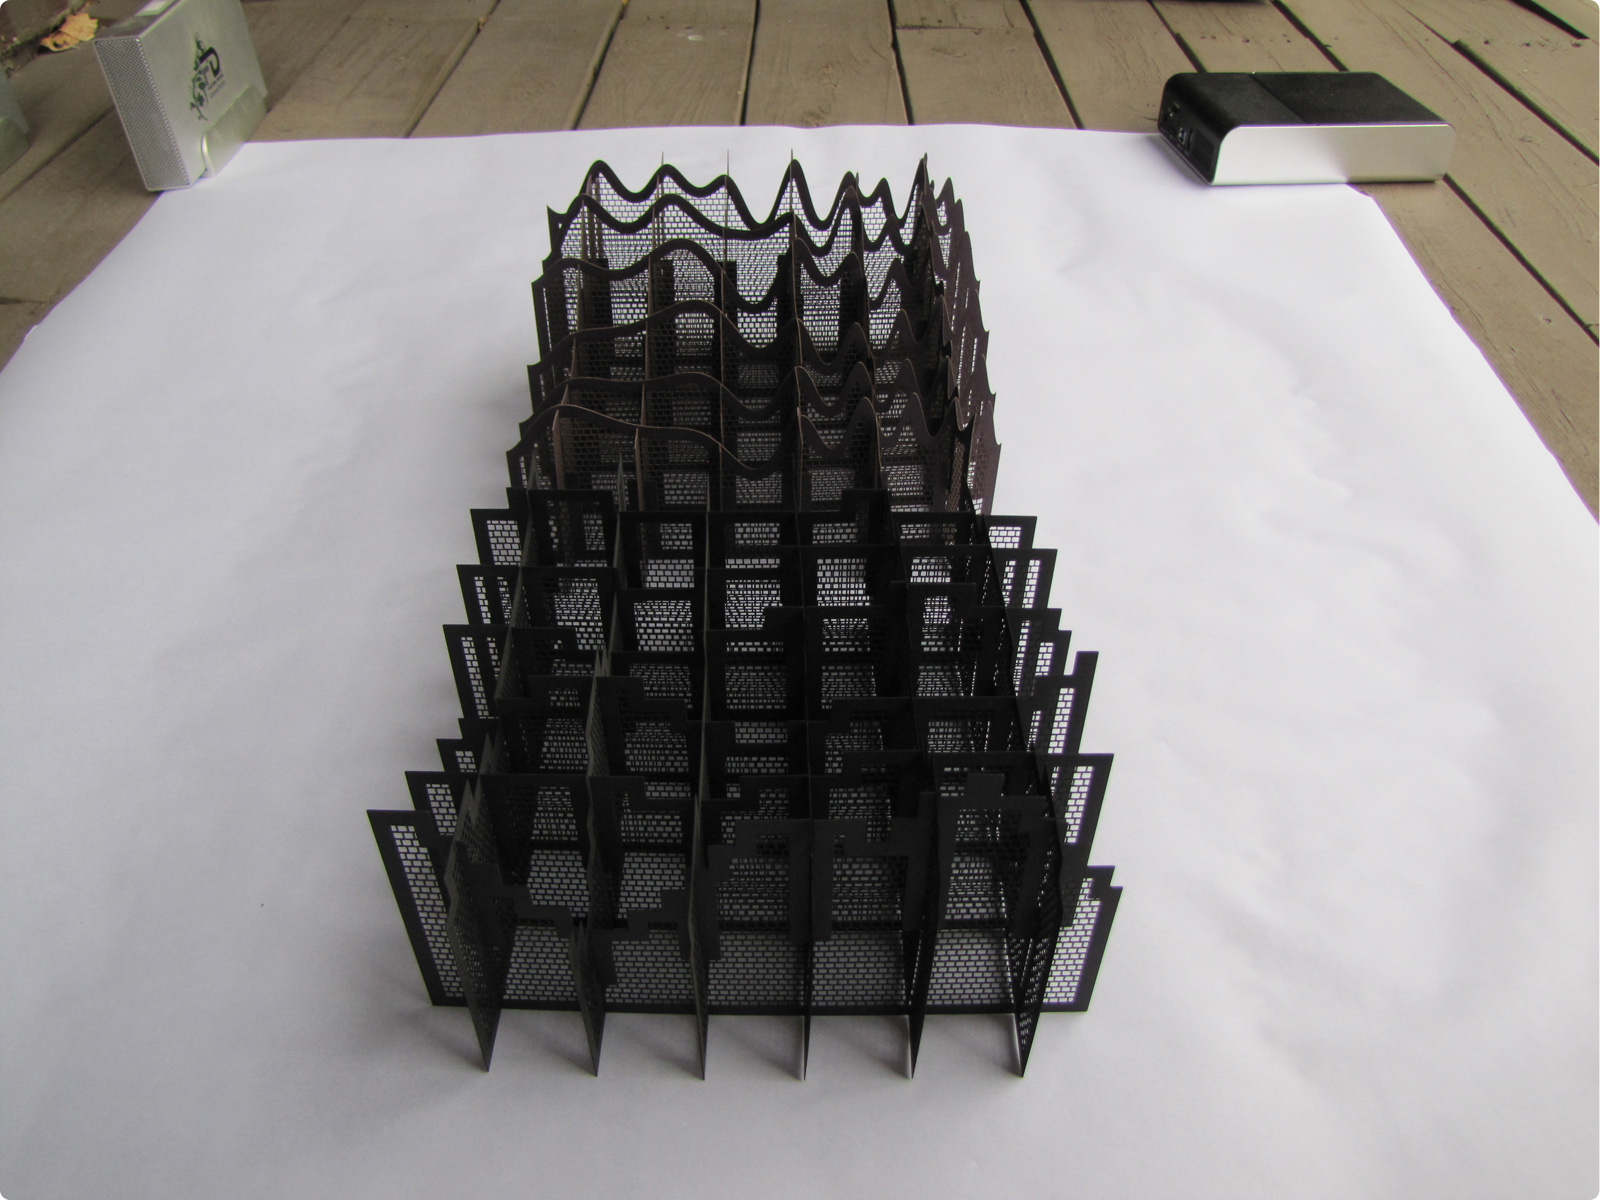
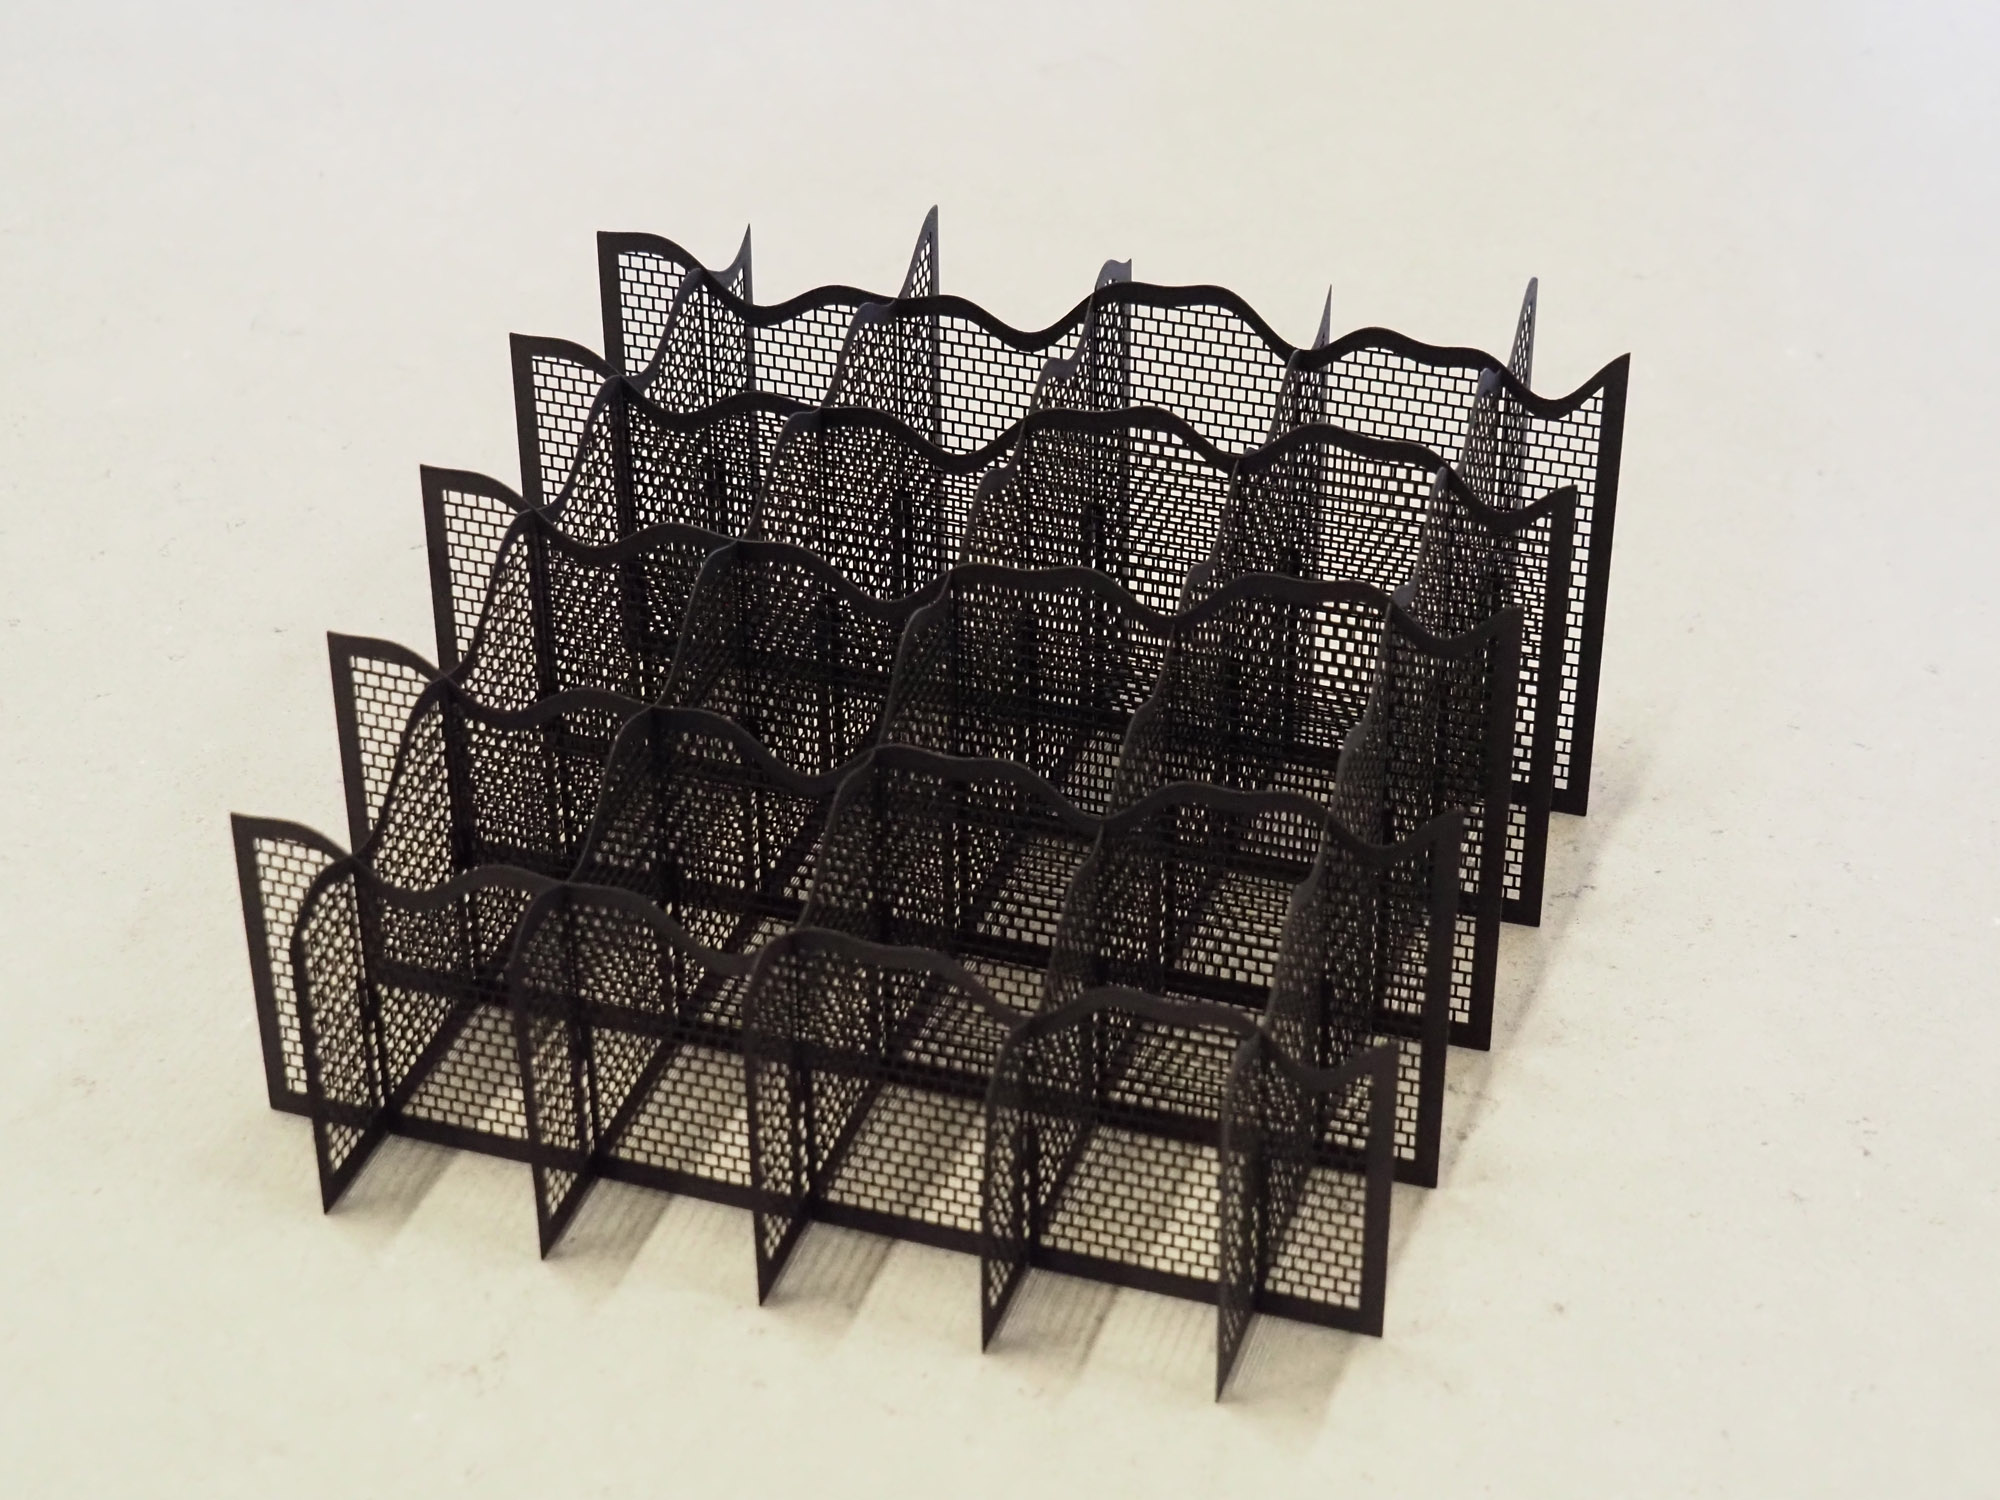
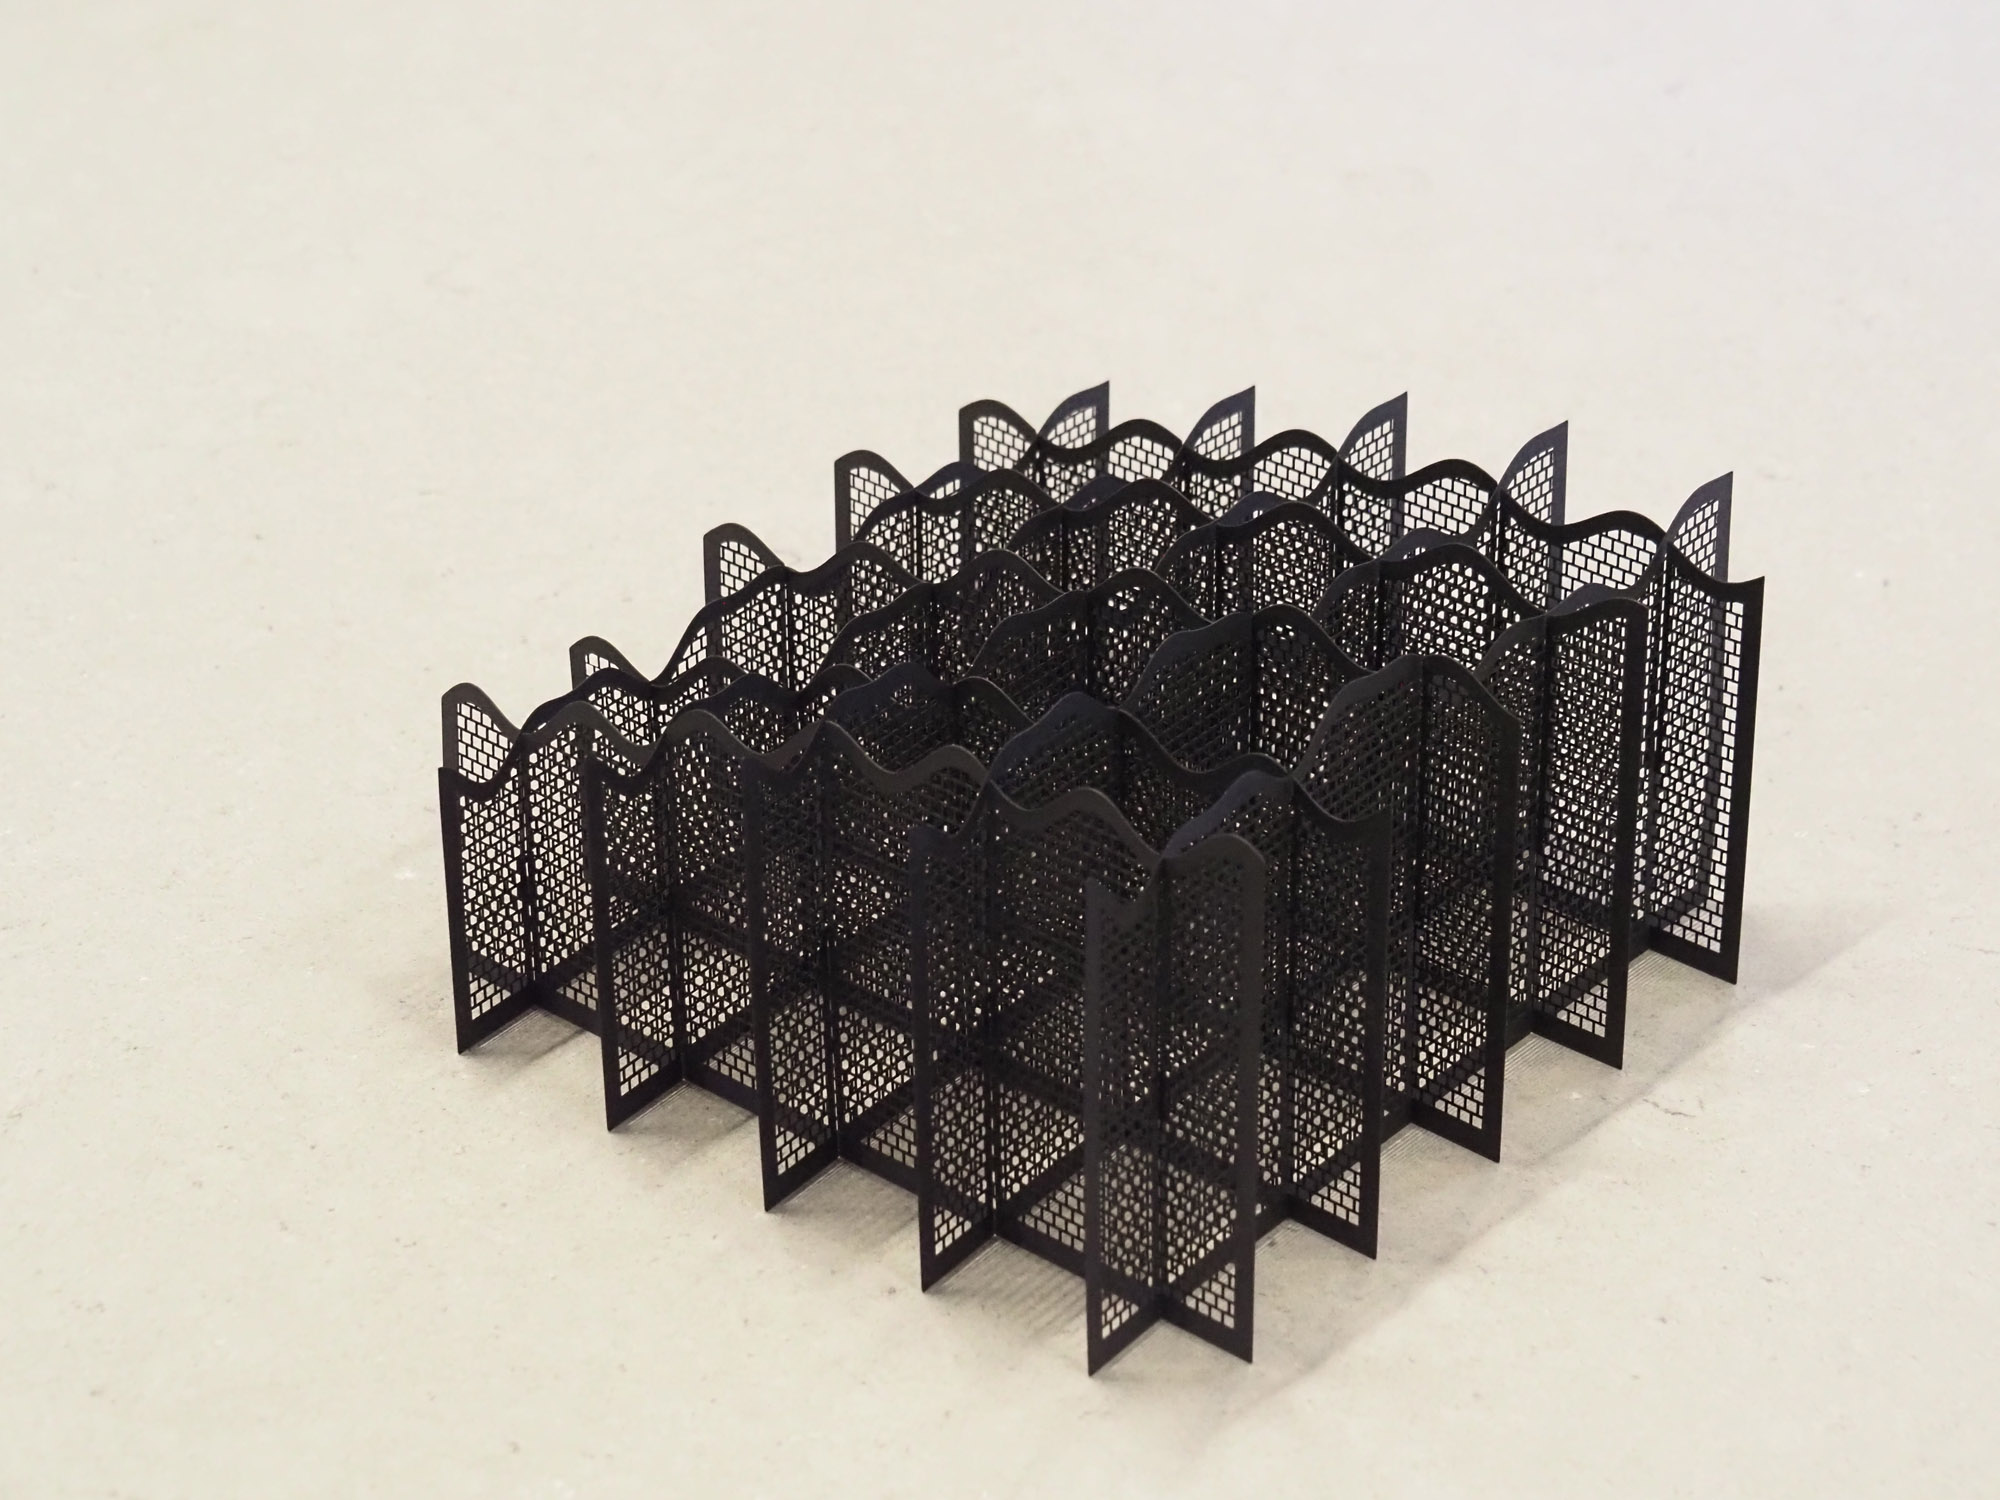
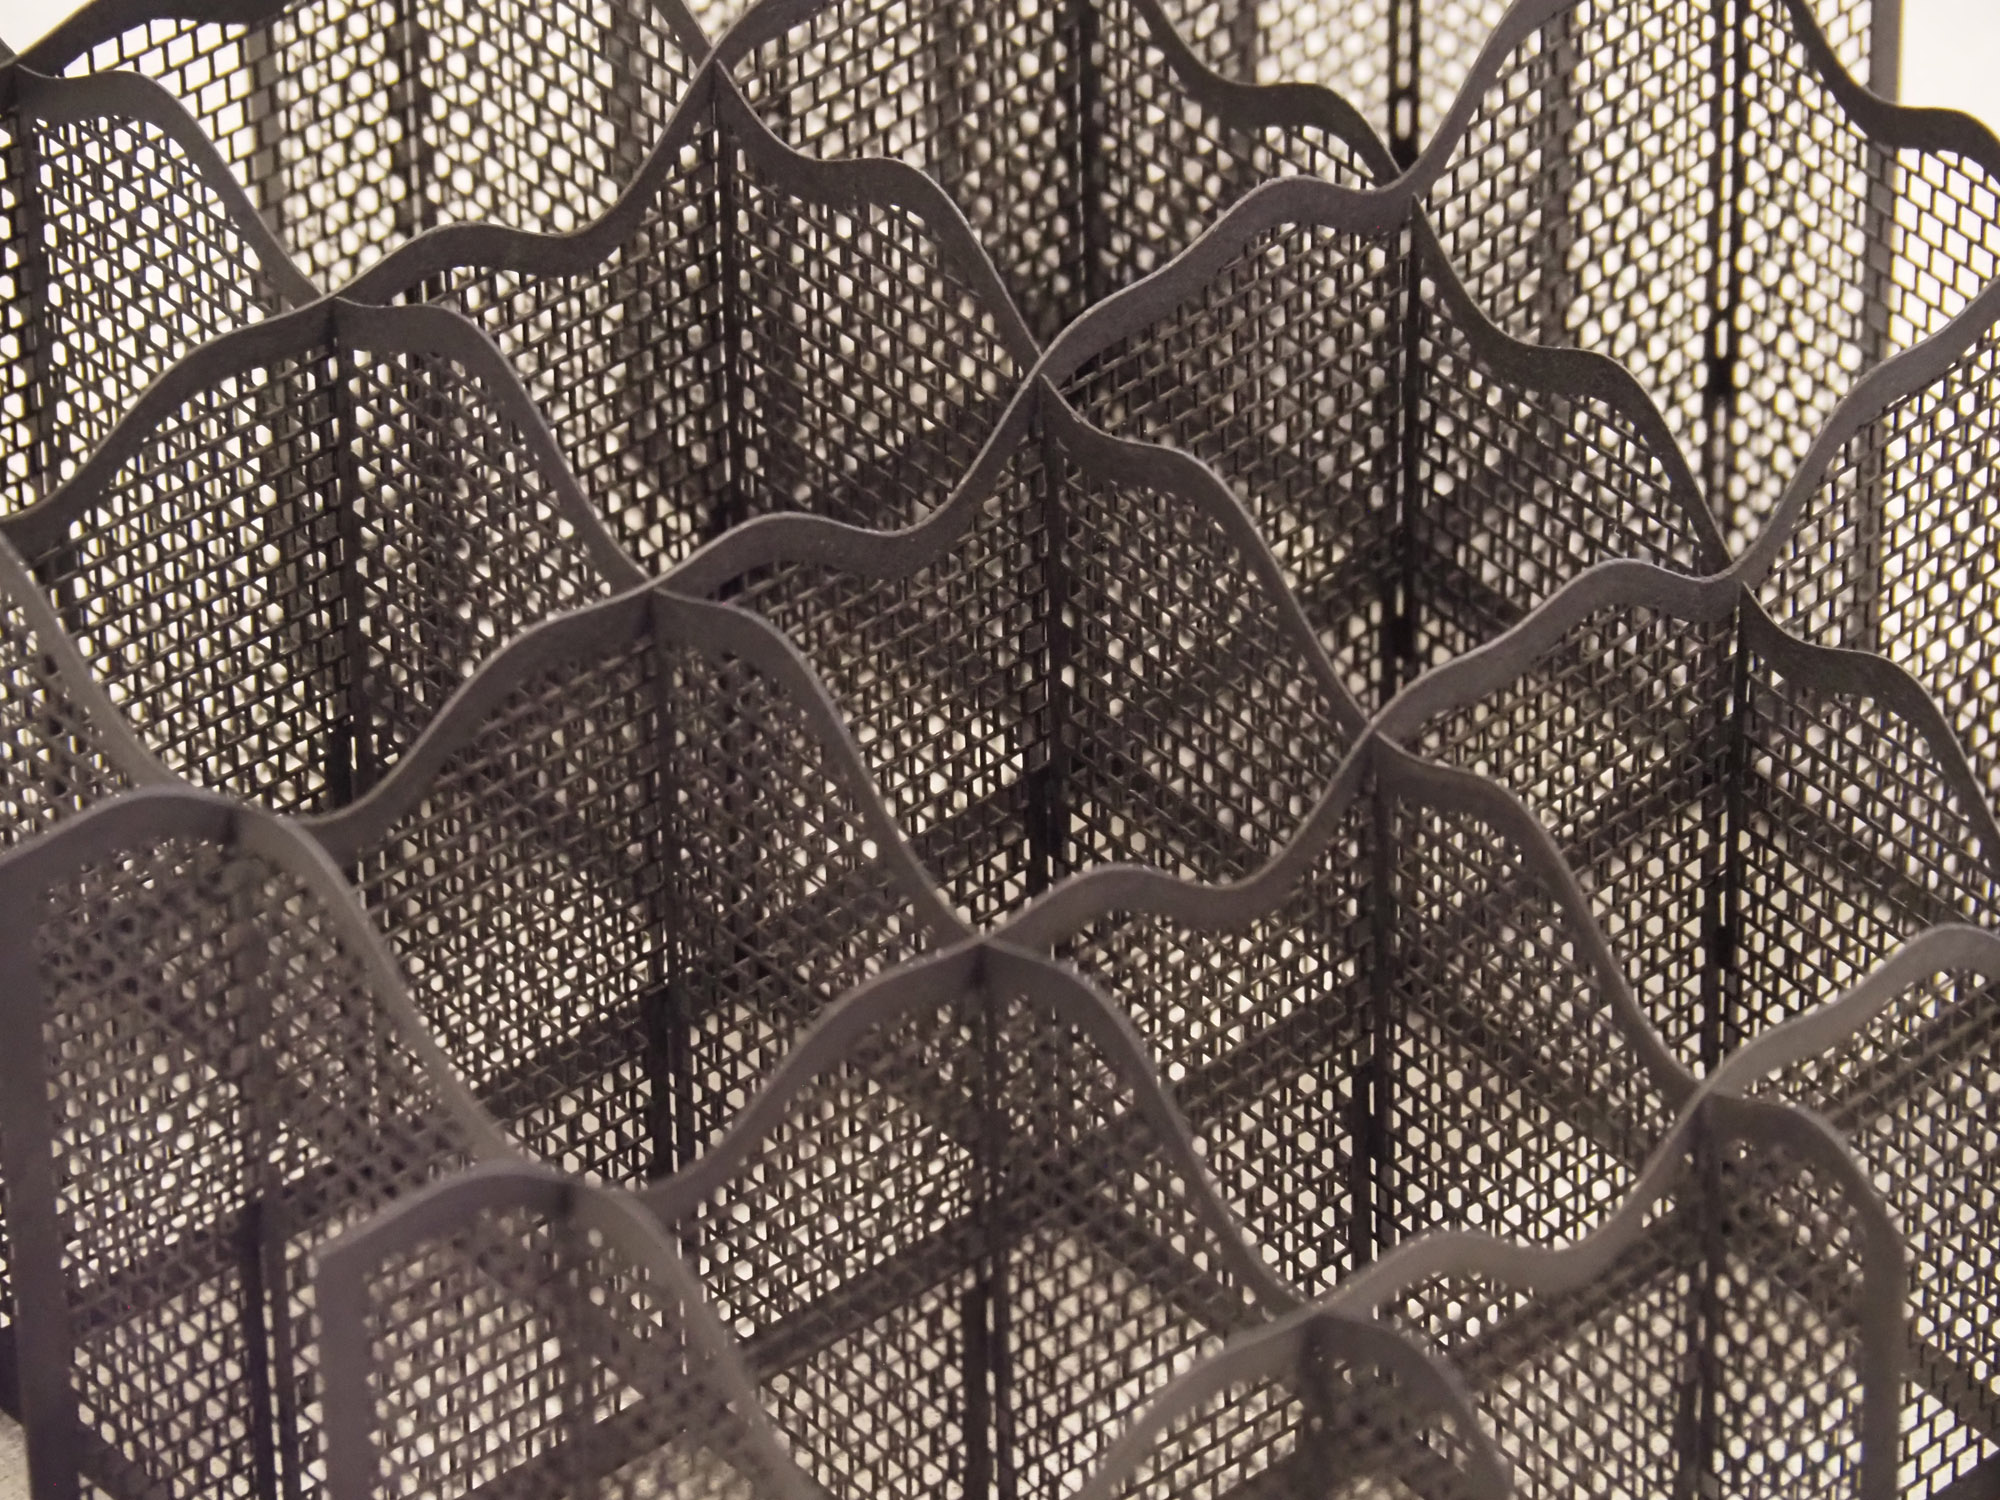
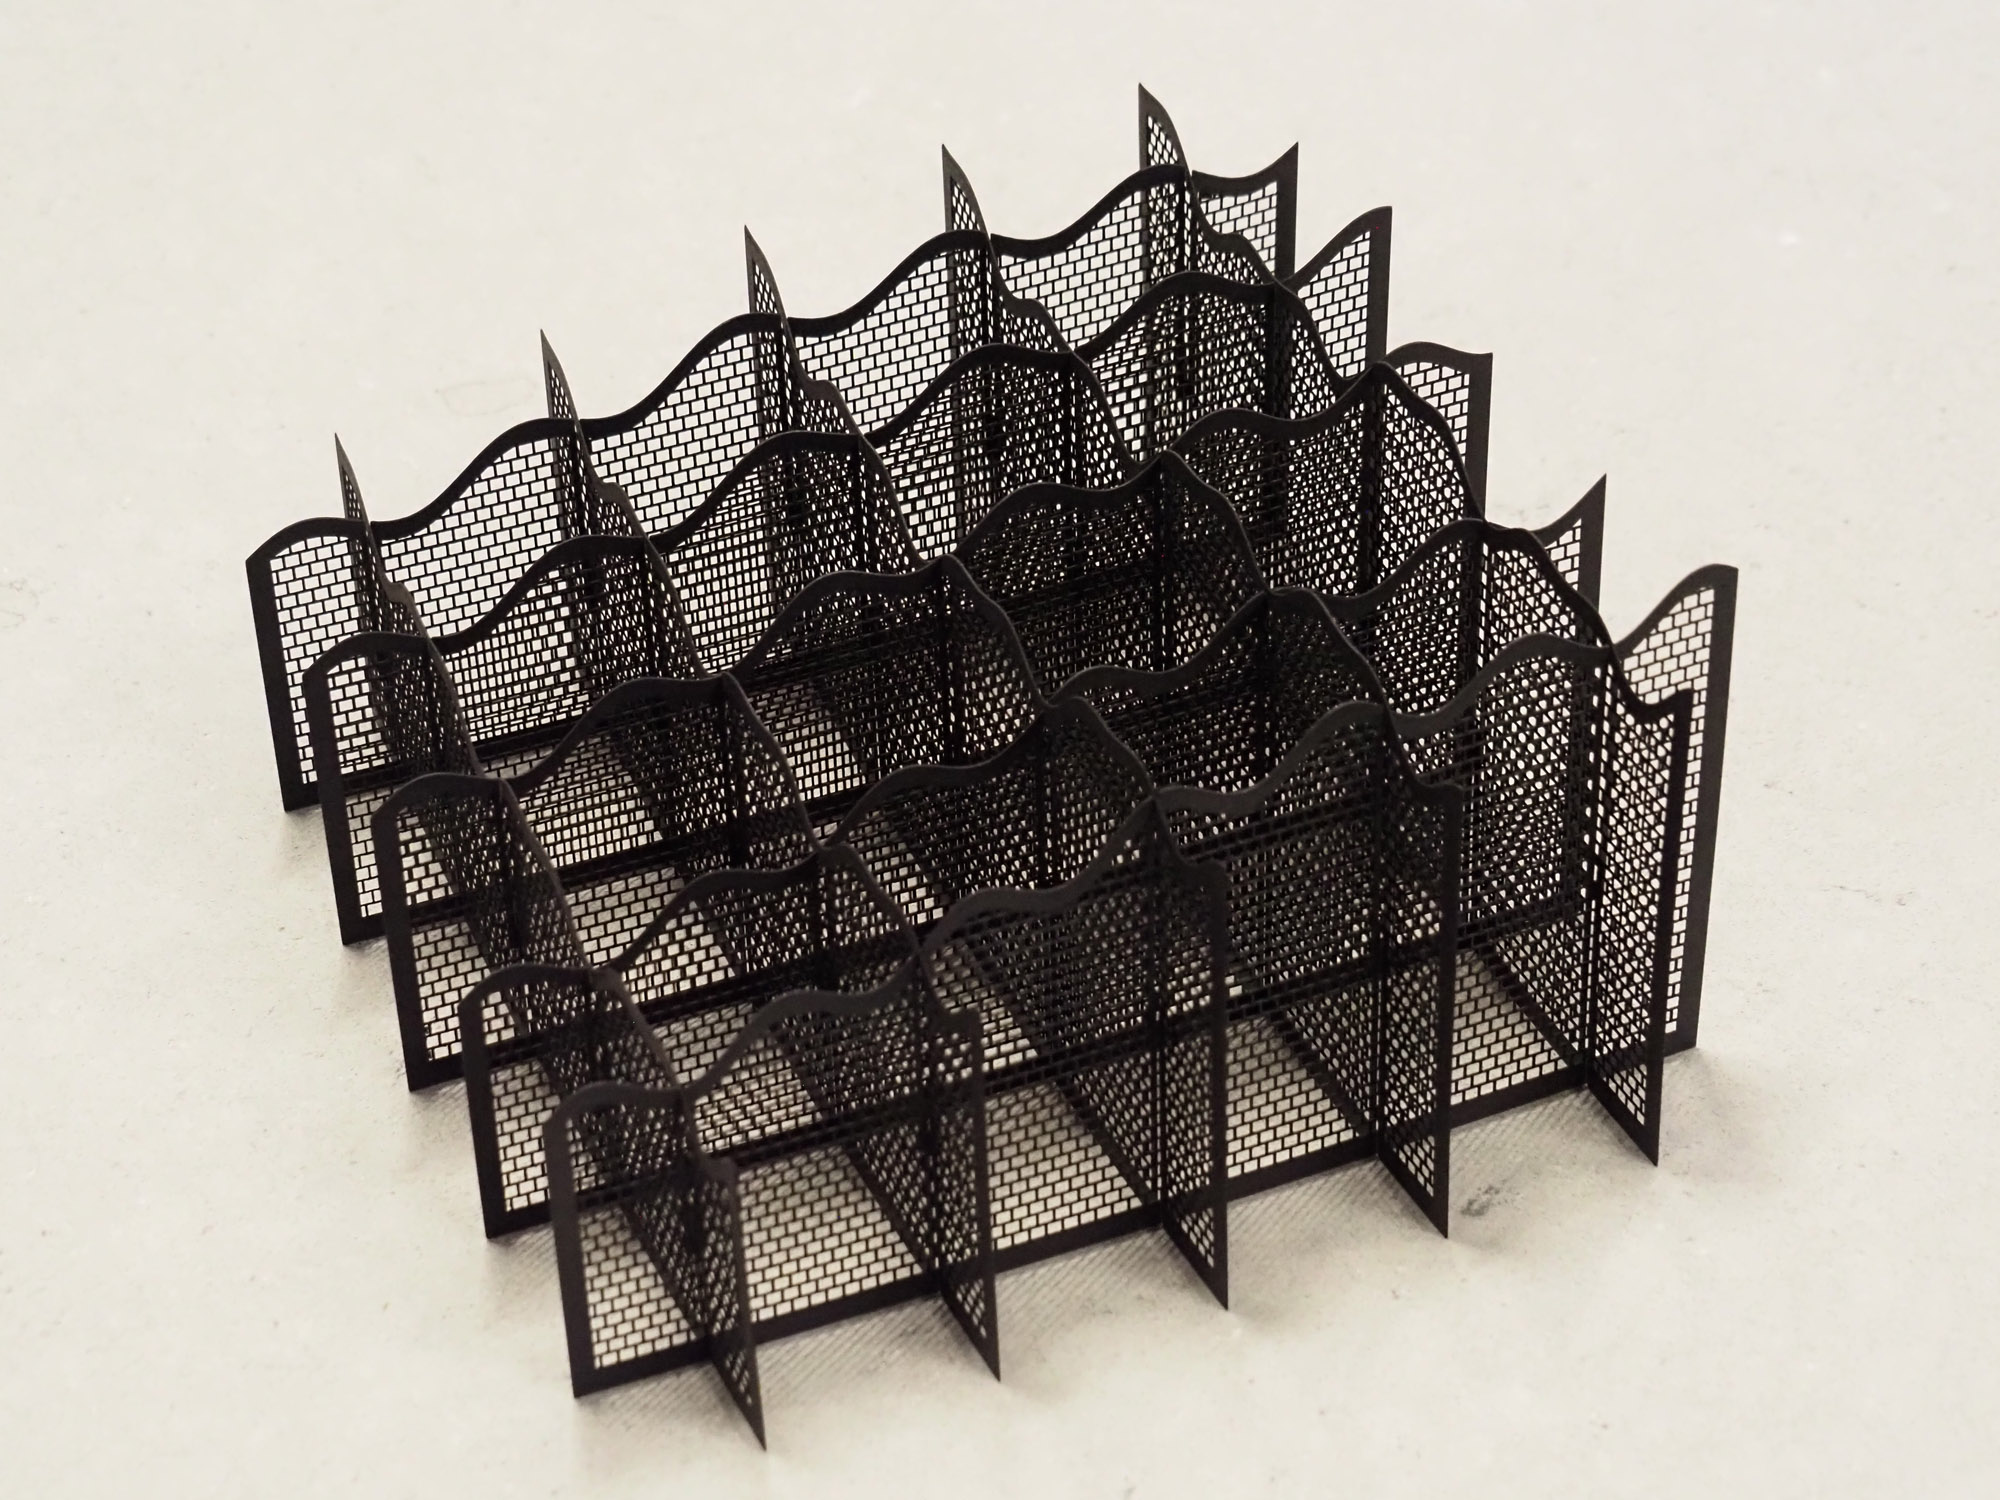
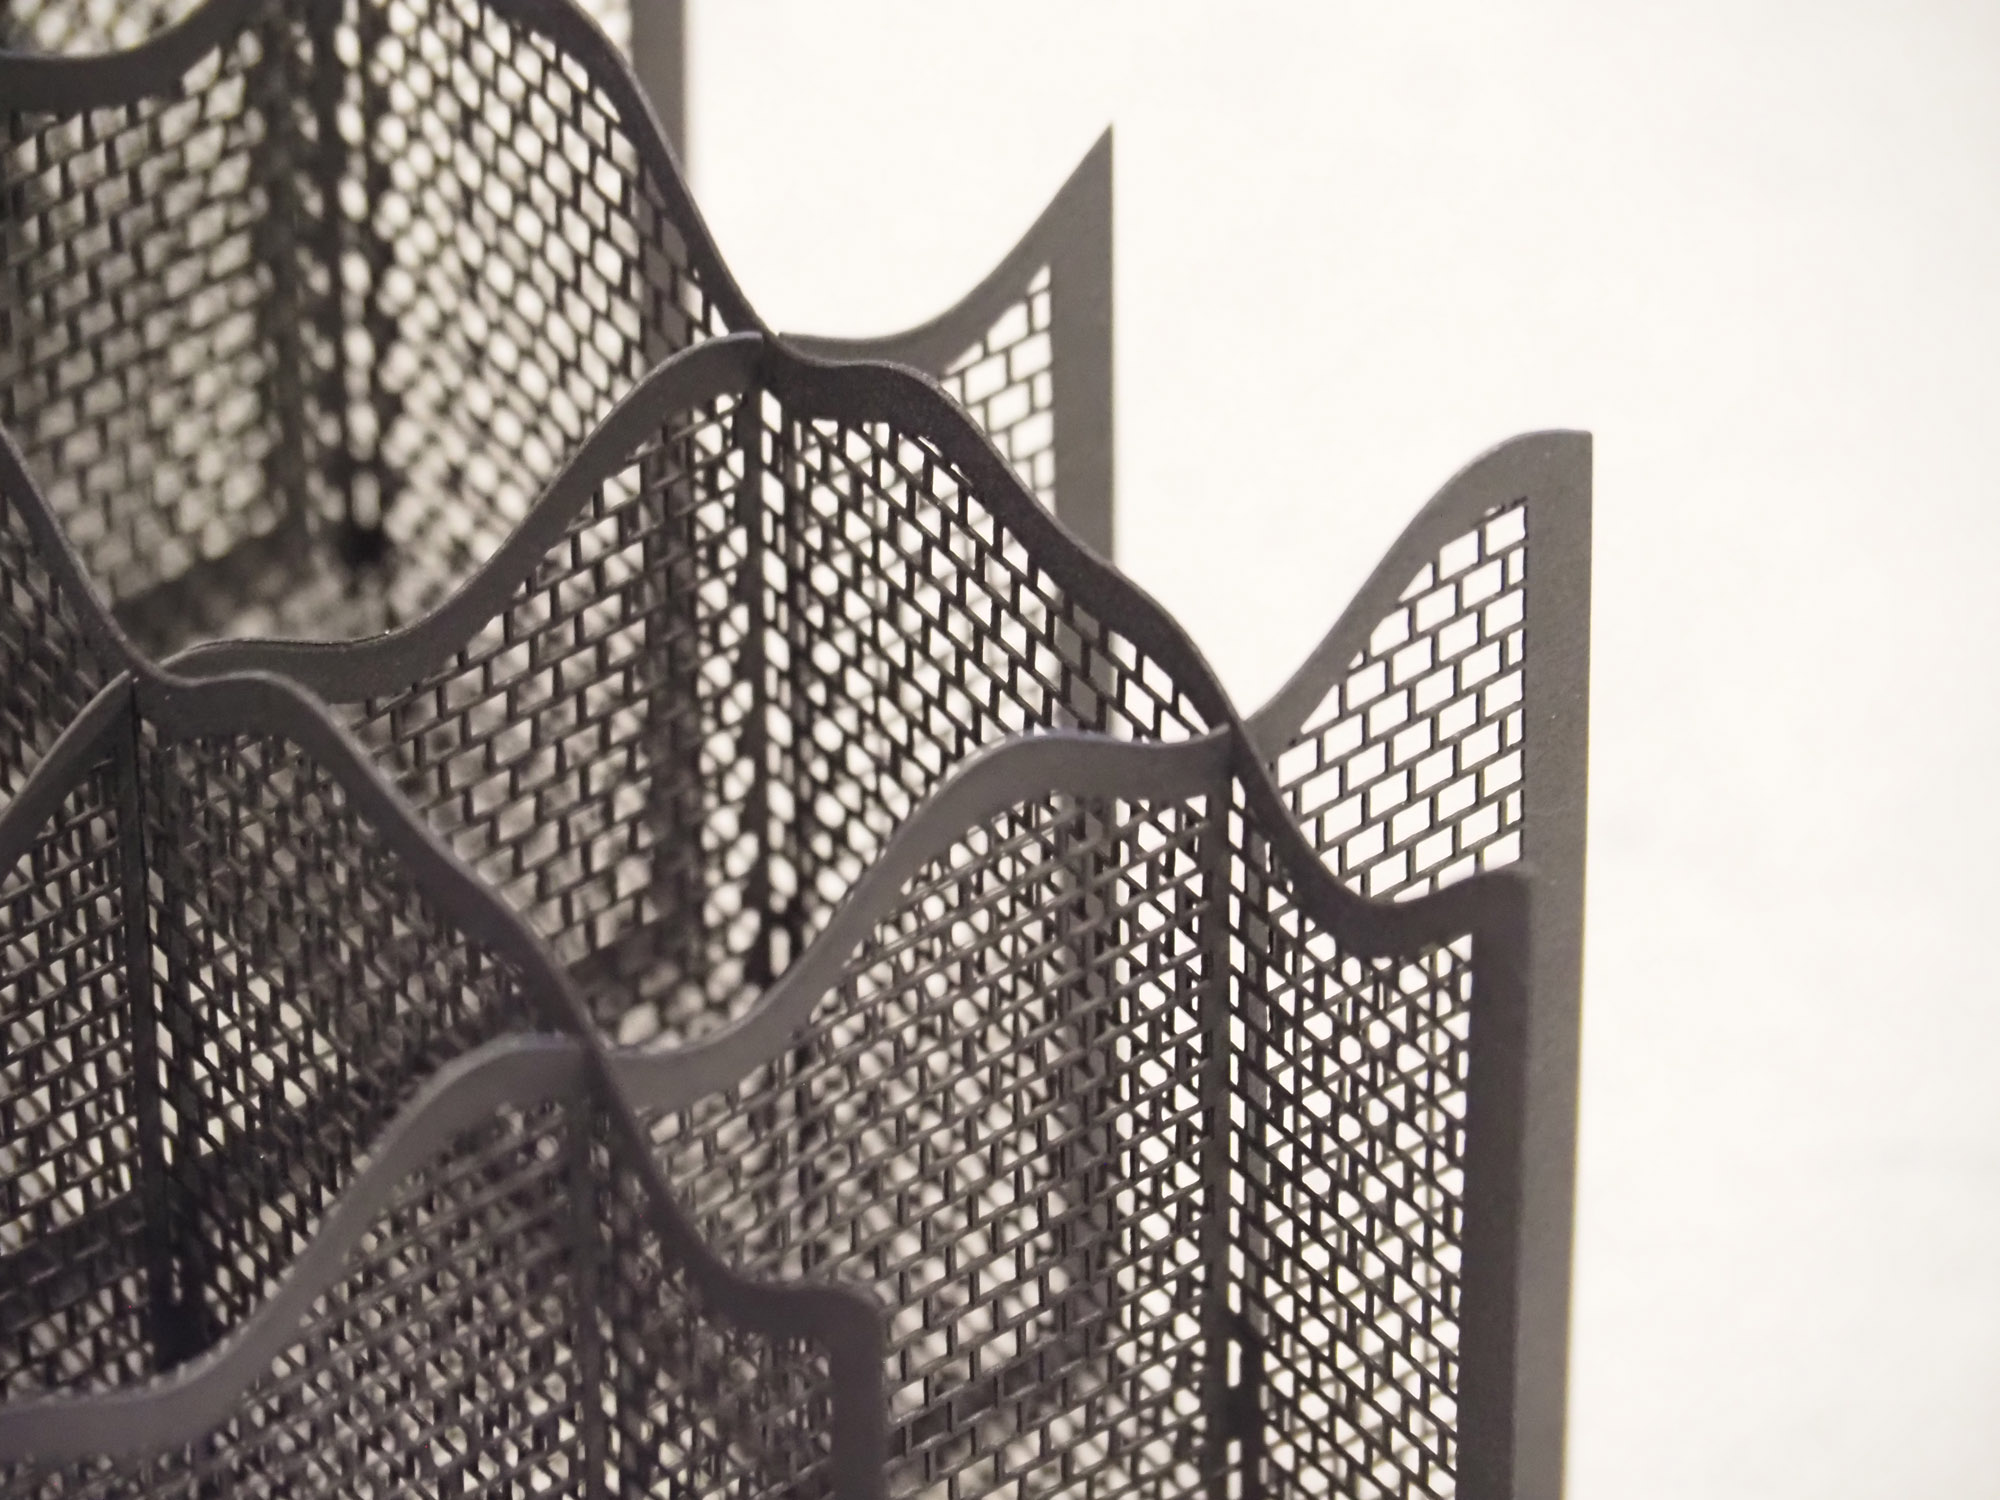
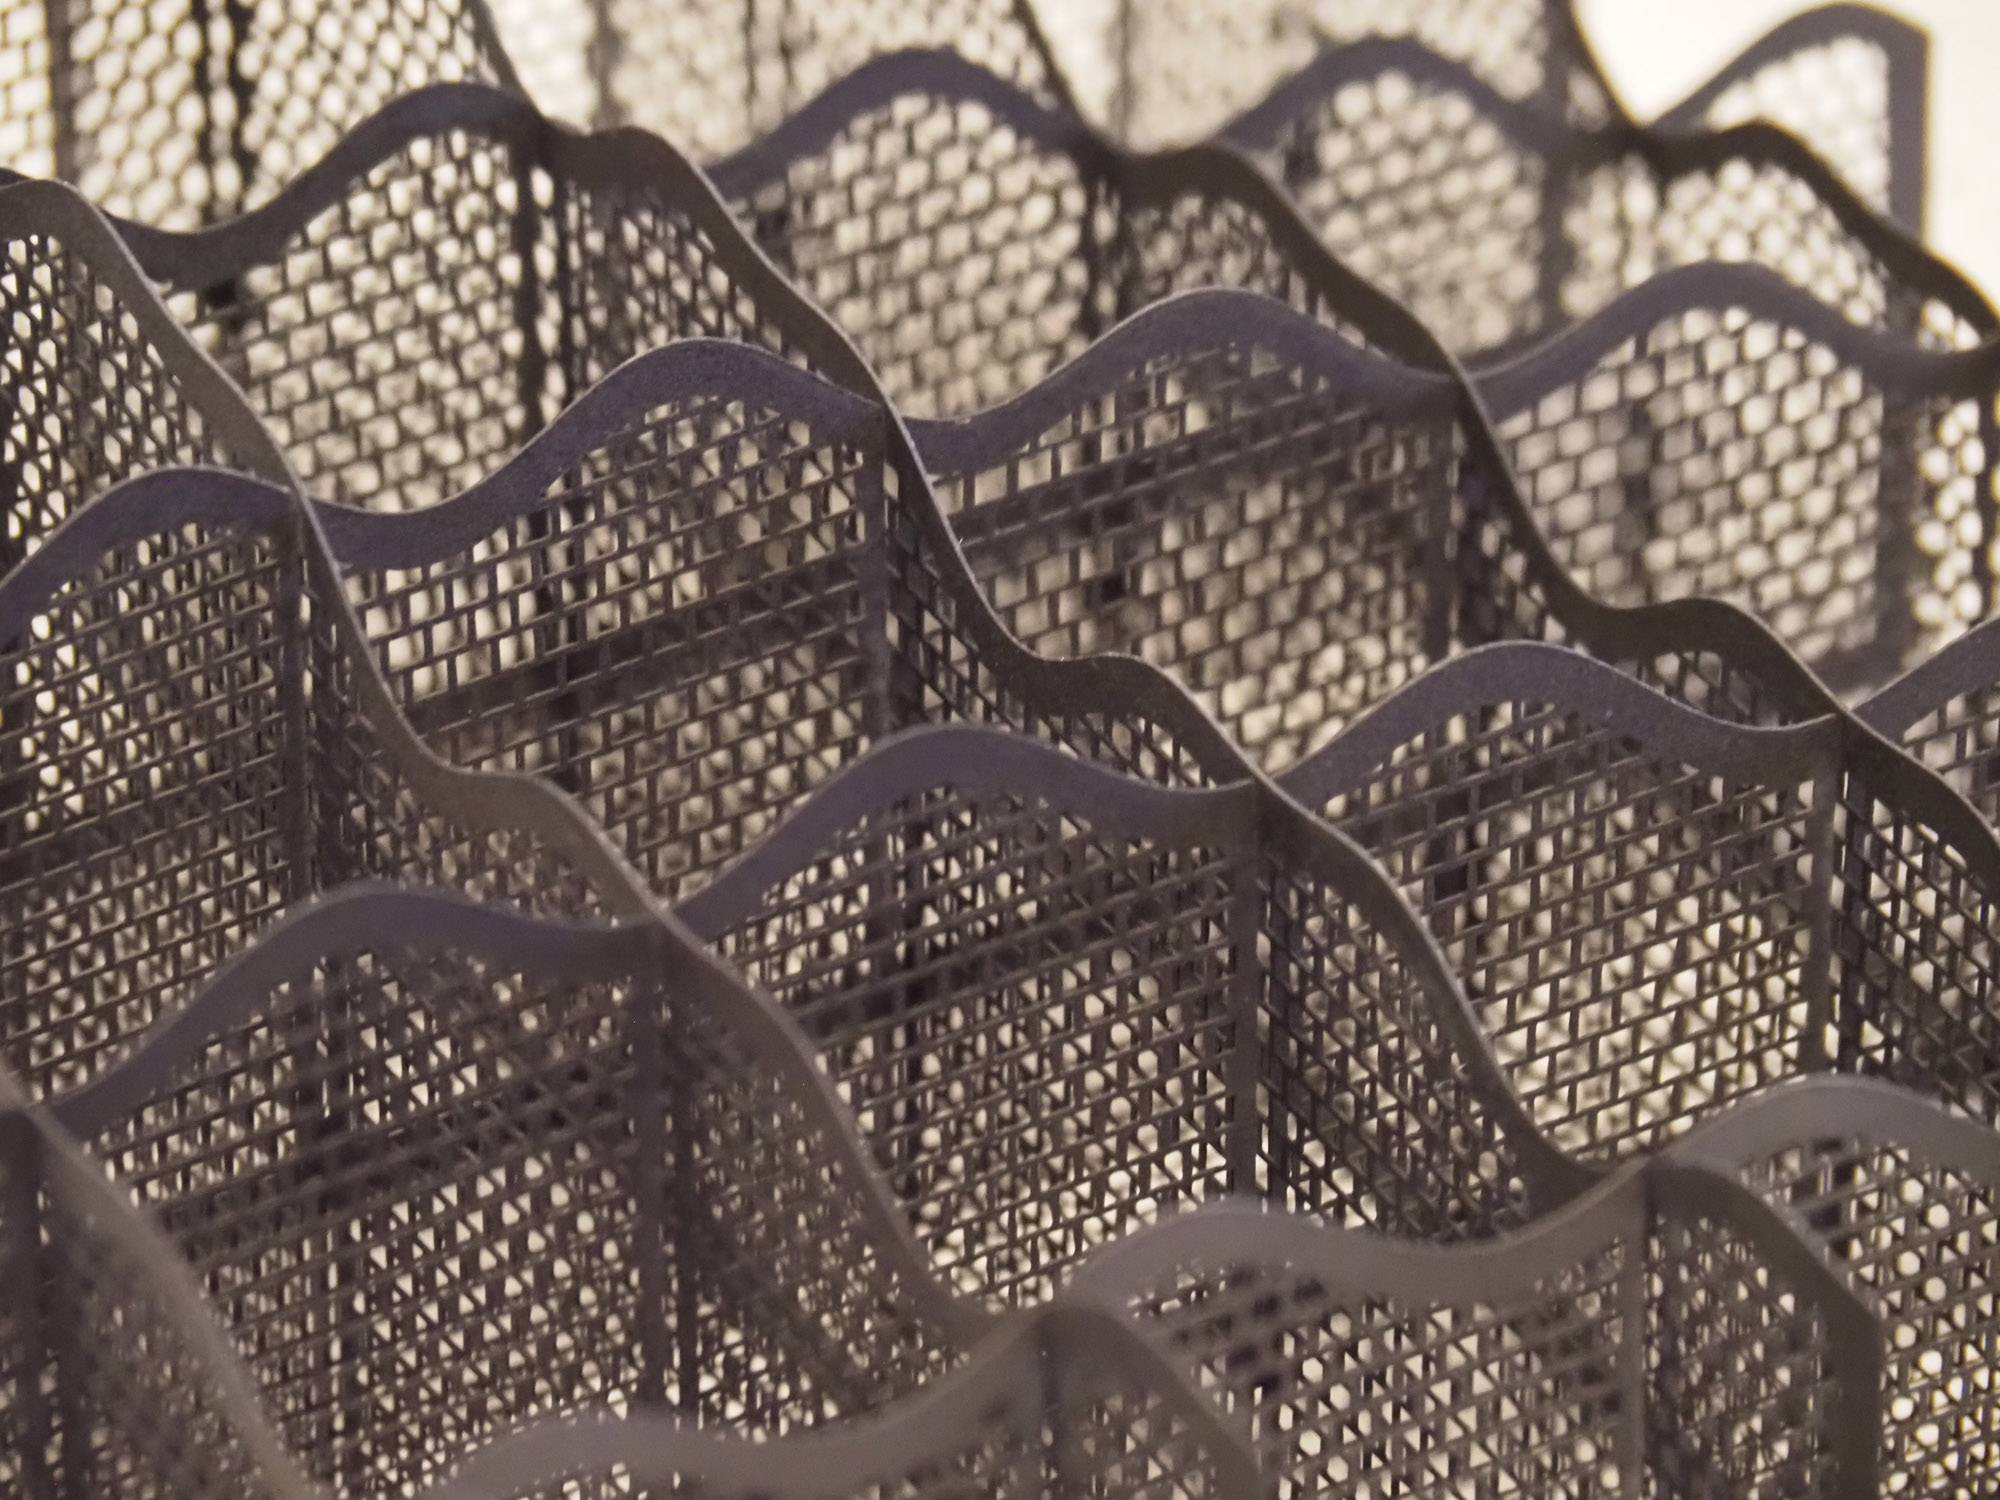
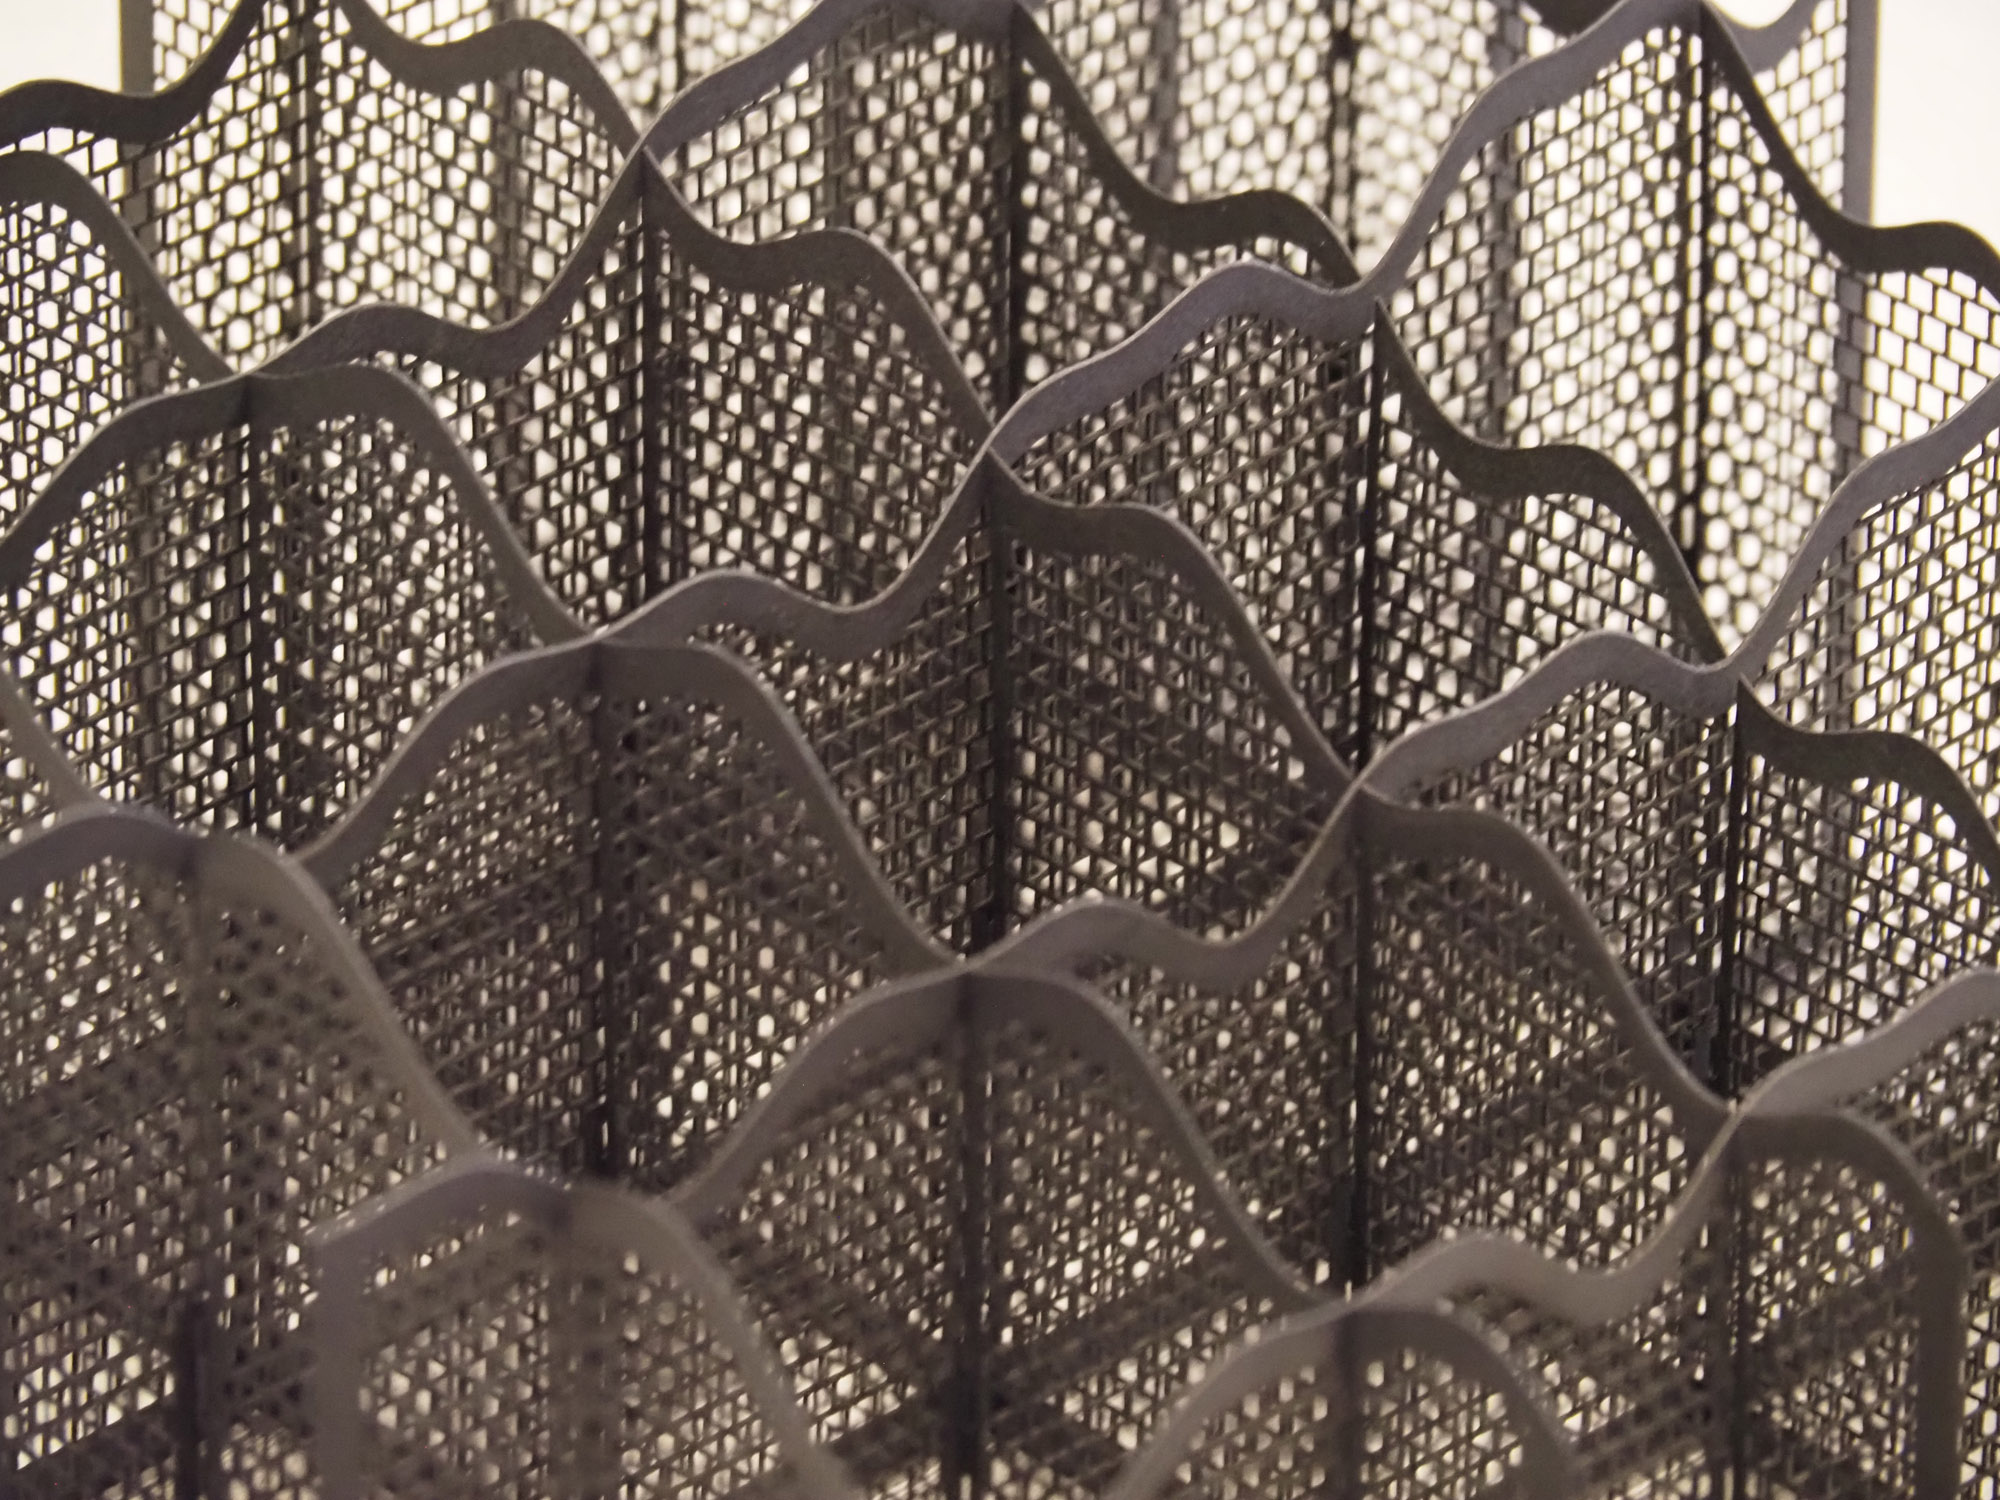
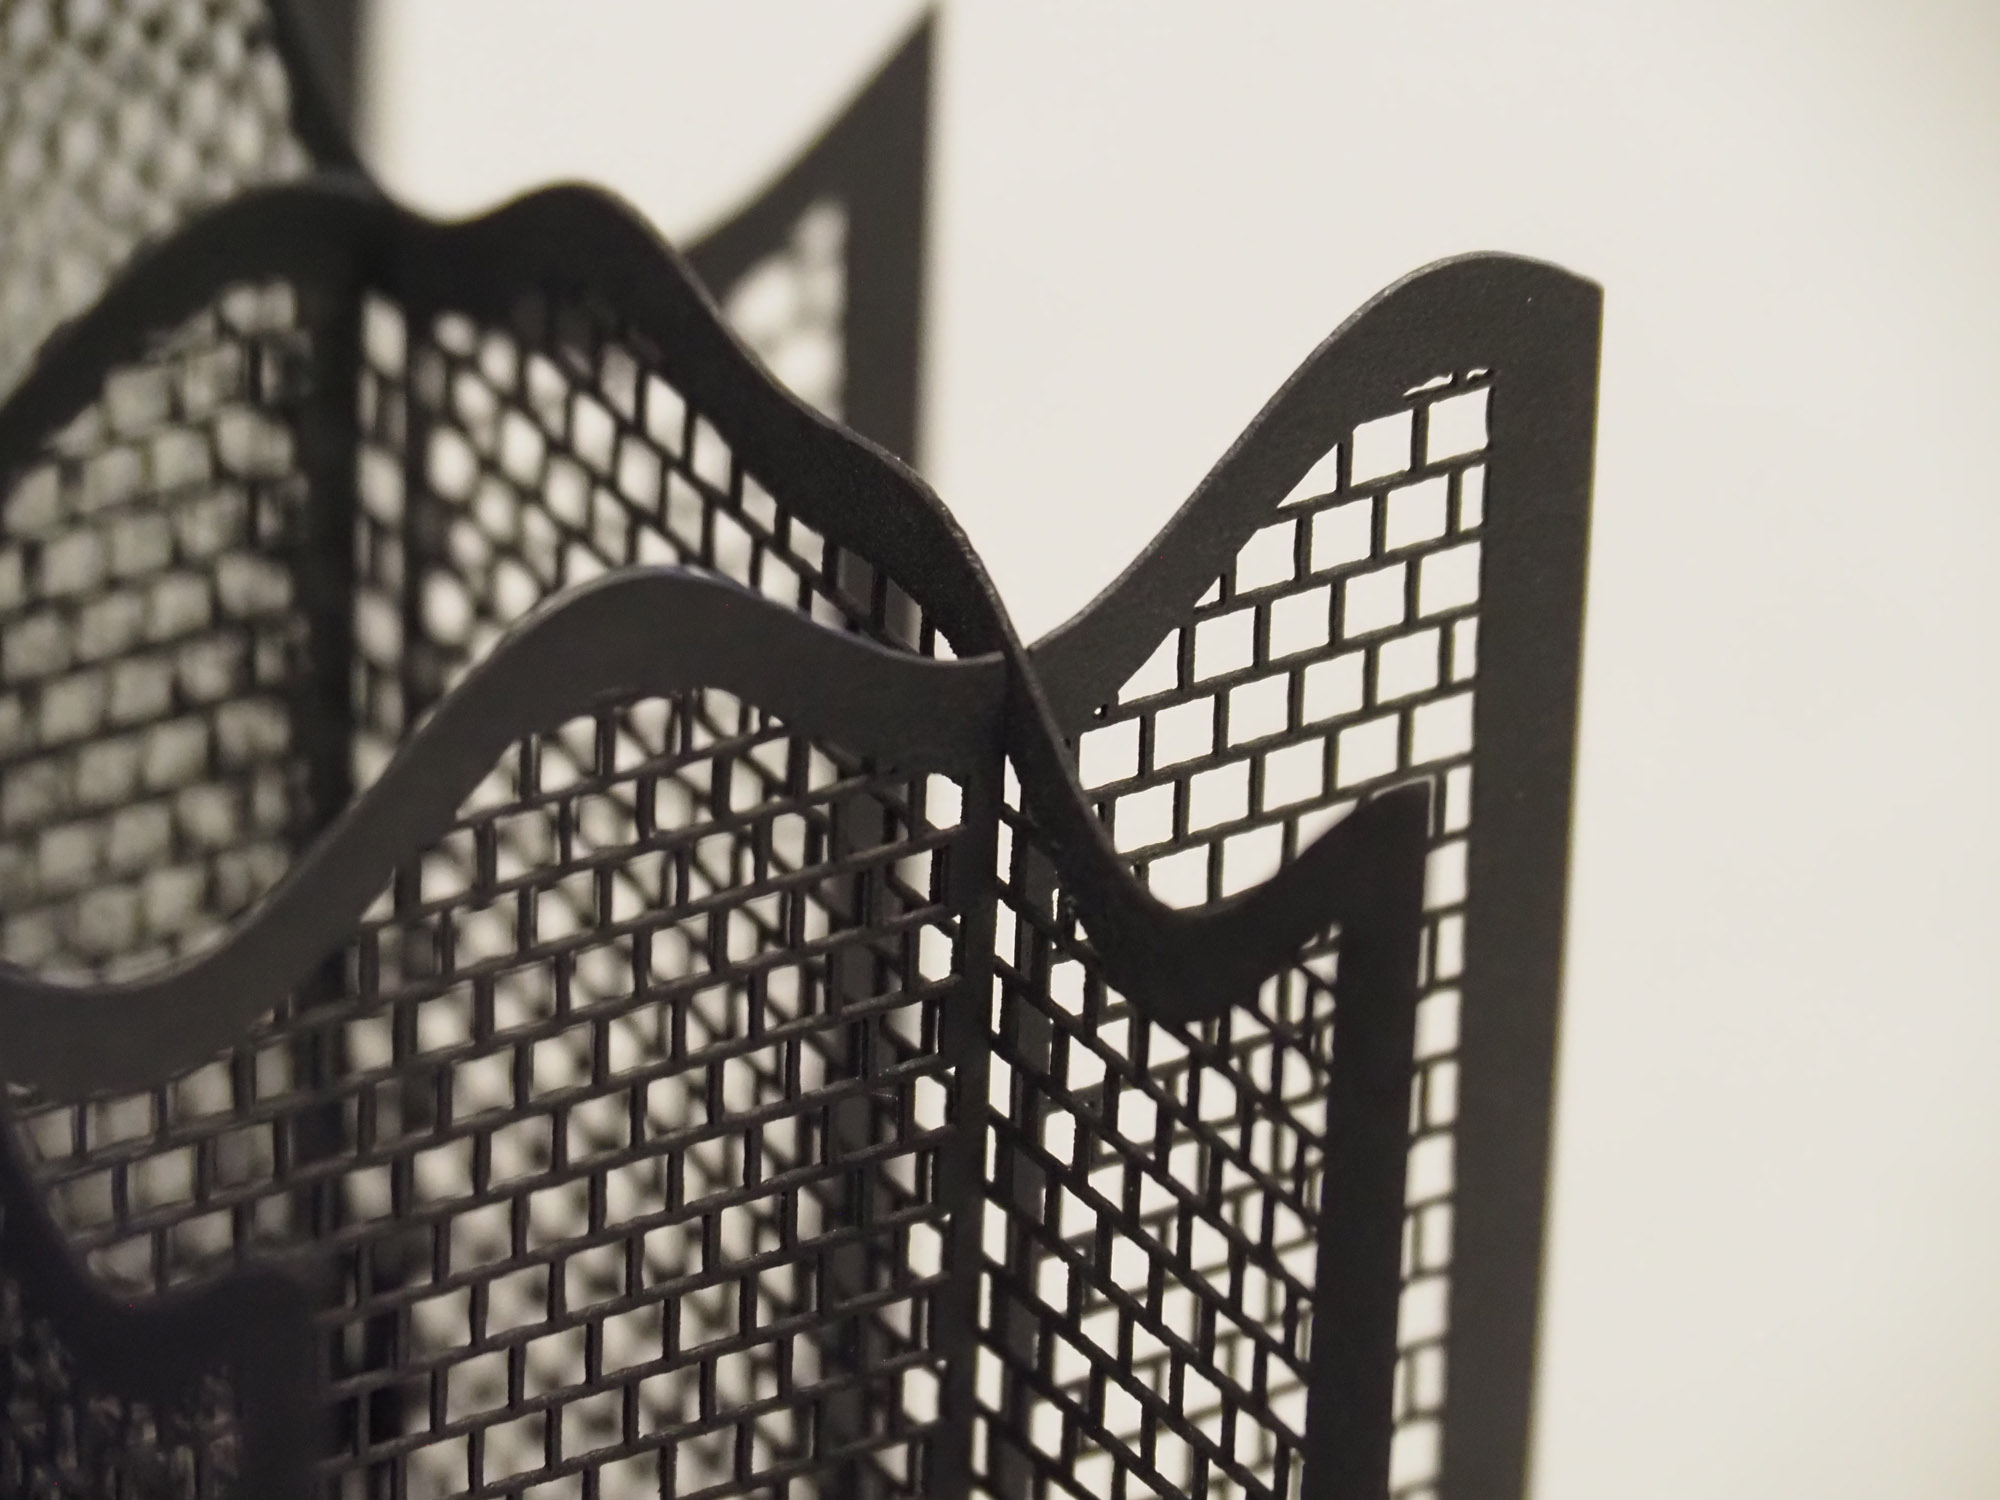
The inlay was a series of squares that are only .03 inches (< 1mm) apart from each other that gave it a feeling of a mesh surface. The squares (or whatever object you want use) are created with a single instruction.
It's good that the programs (and there are more than one) have gotten to the point where I can create a new such object in one to two minutes...but then it takes over three hours to cut one of these on the laser cutter.
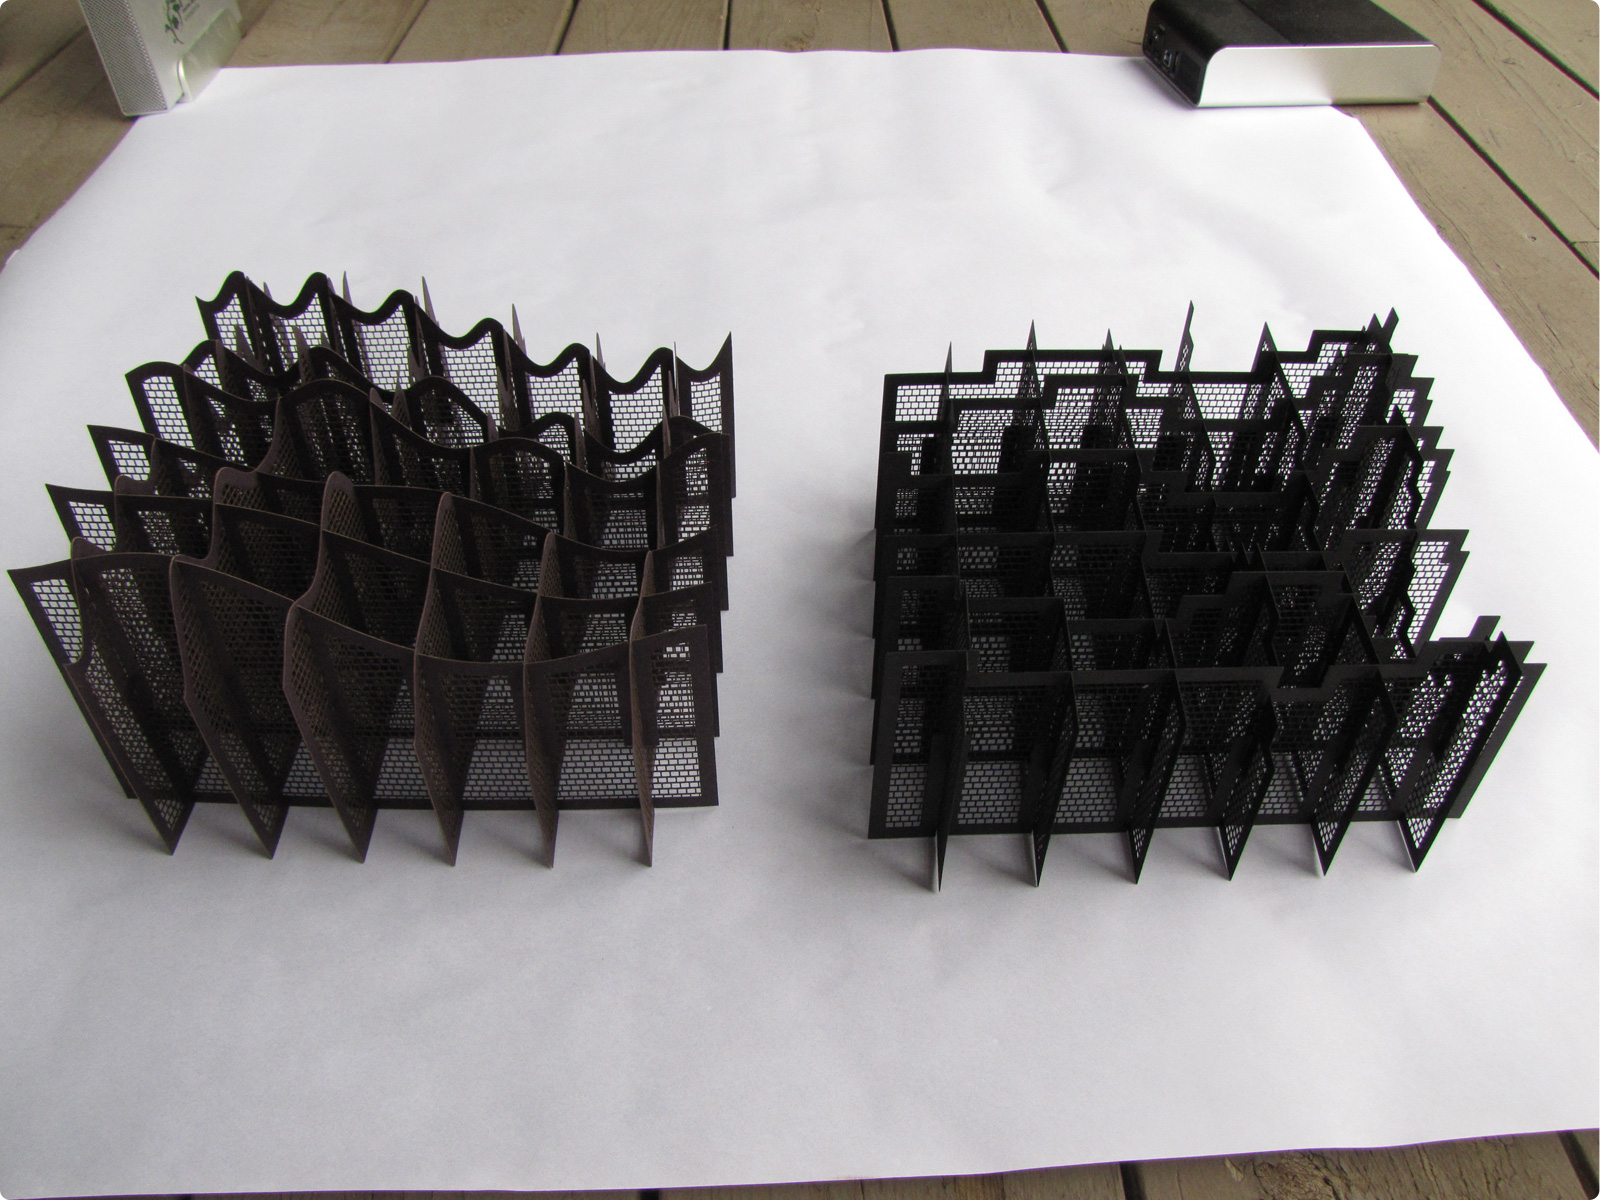
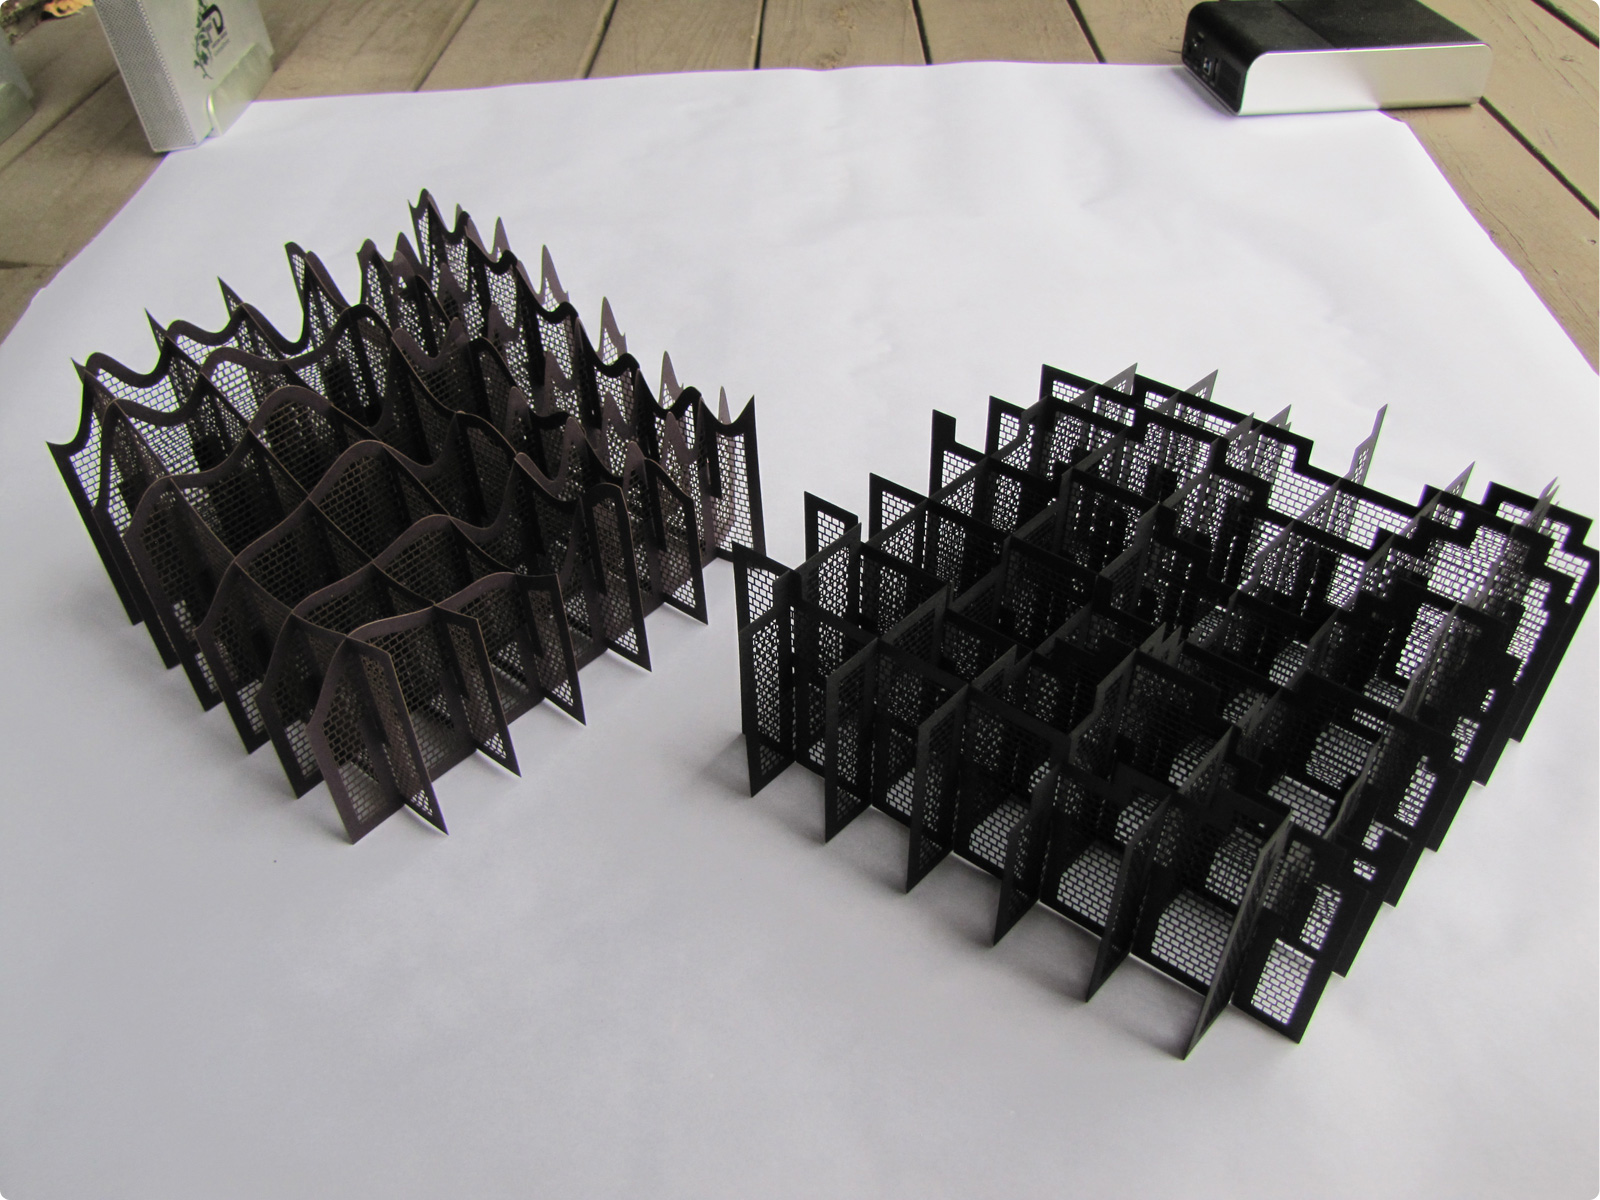
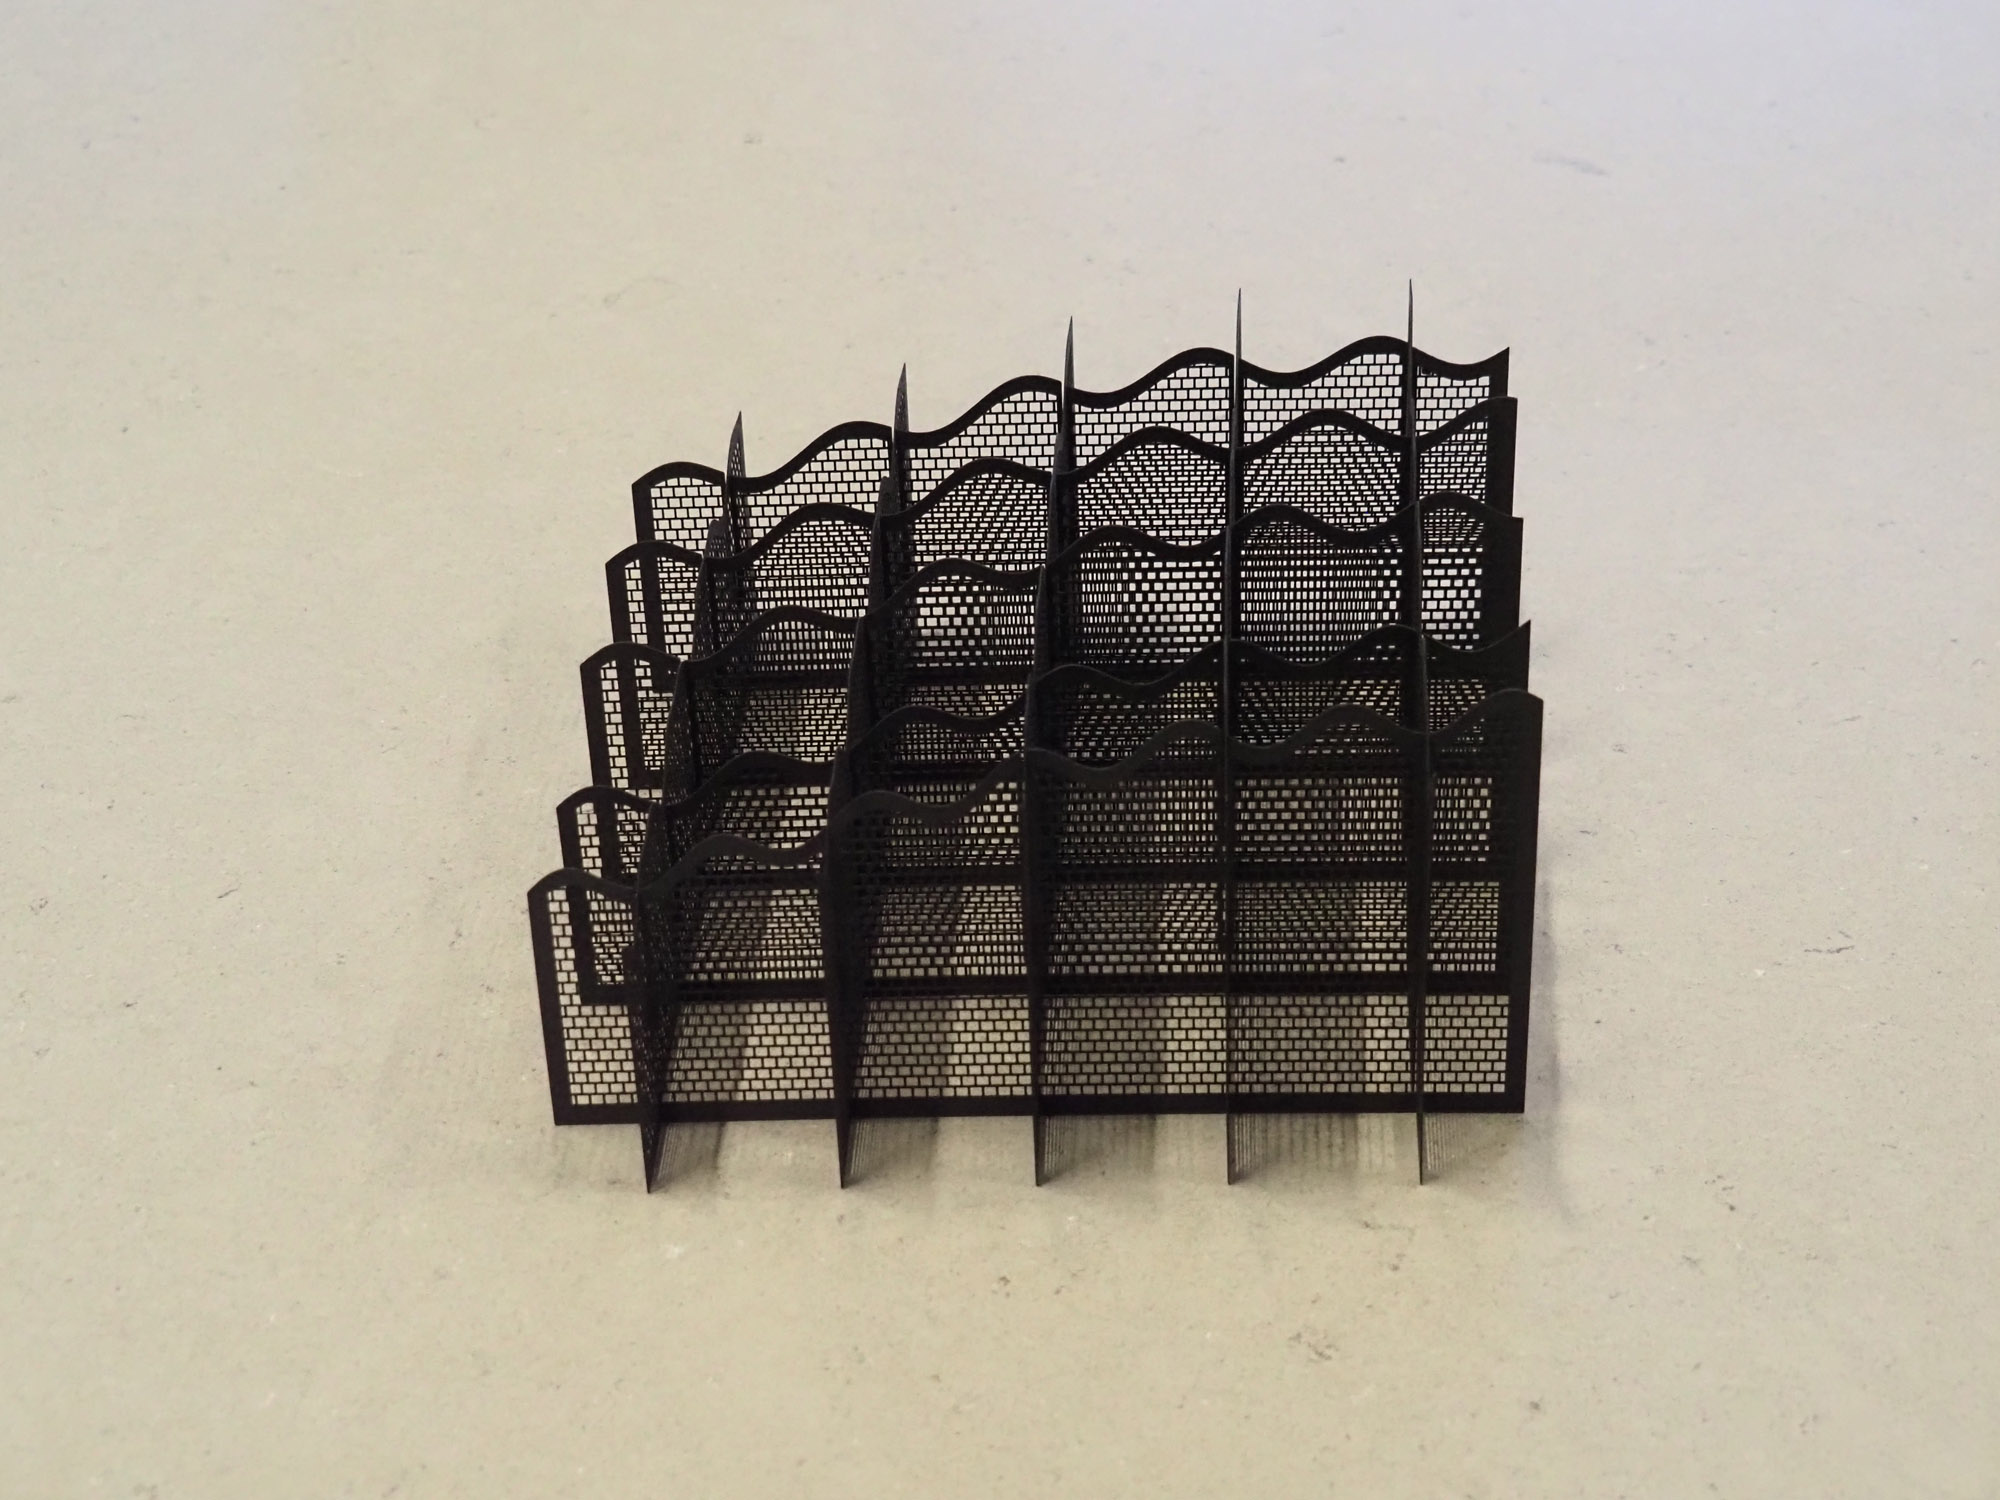
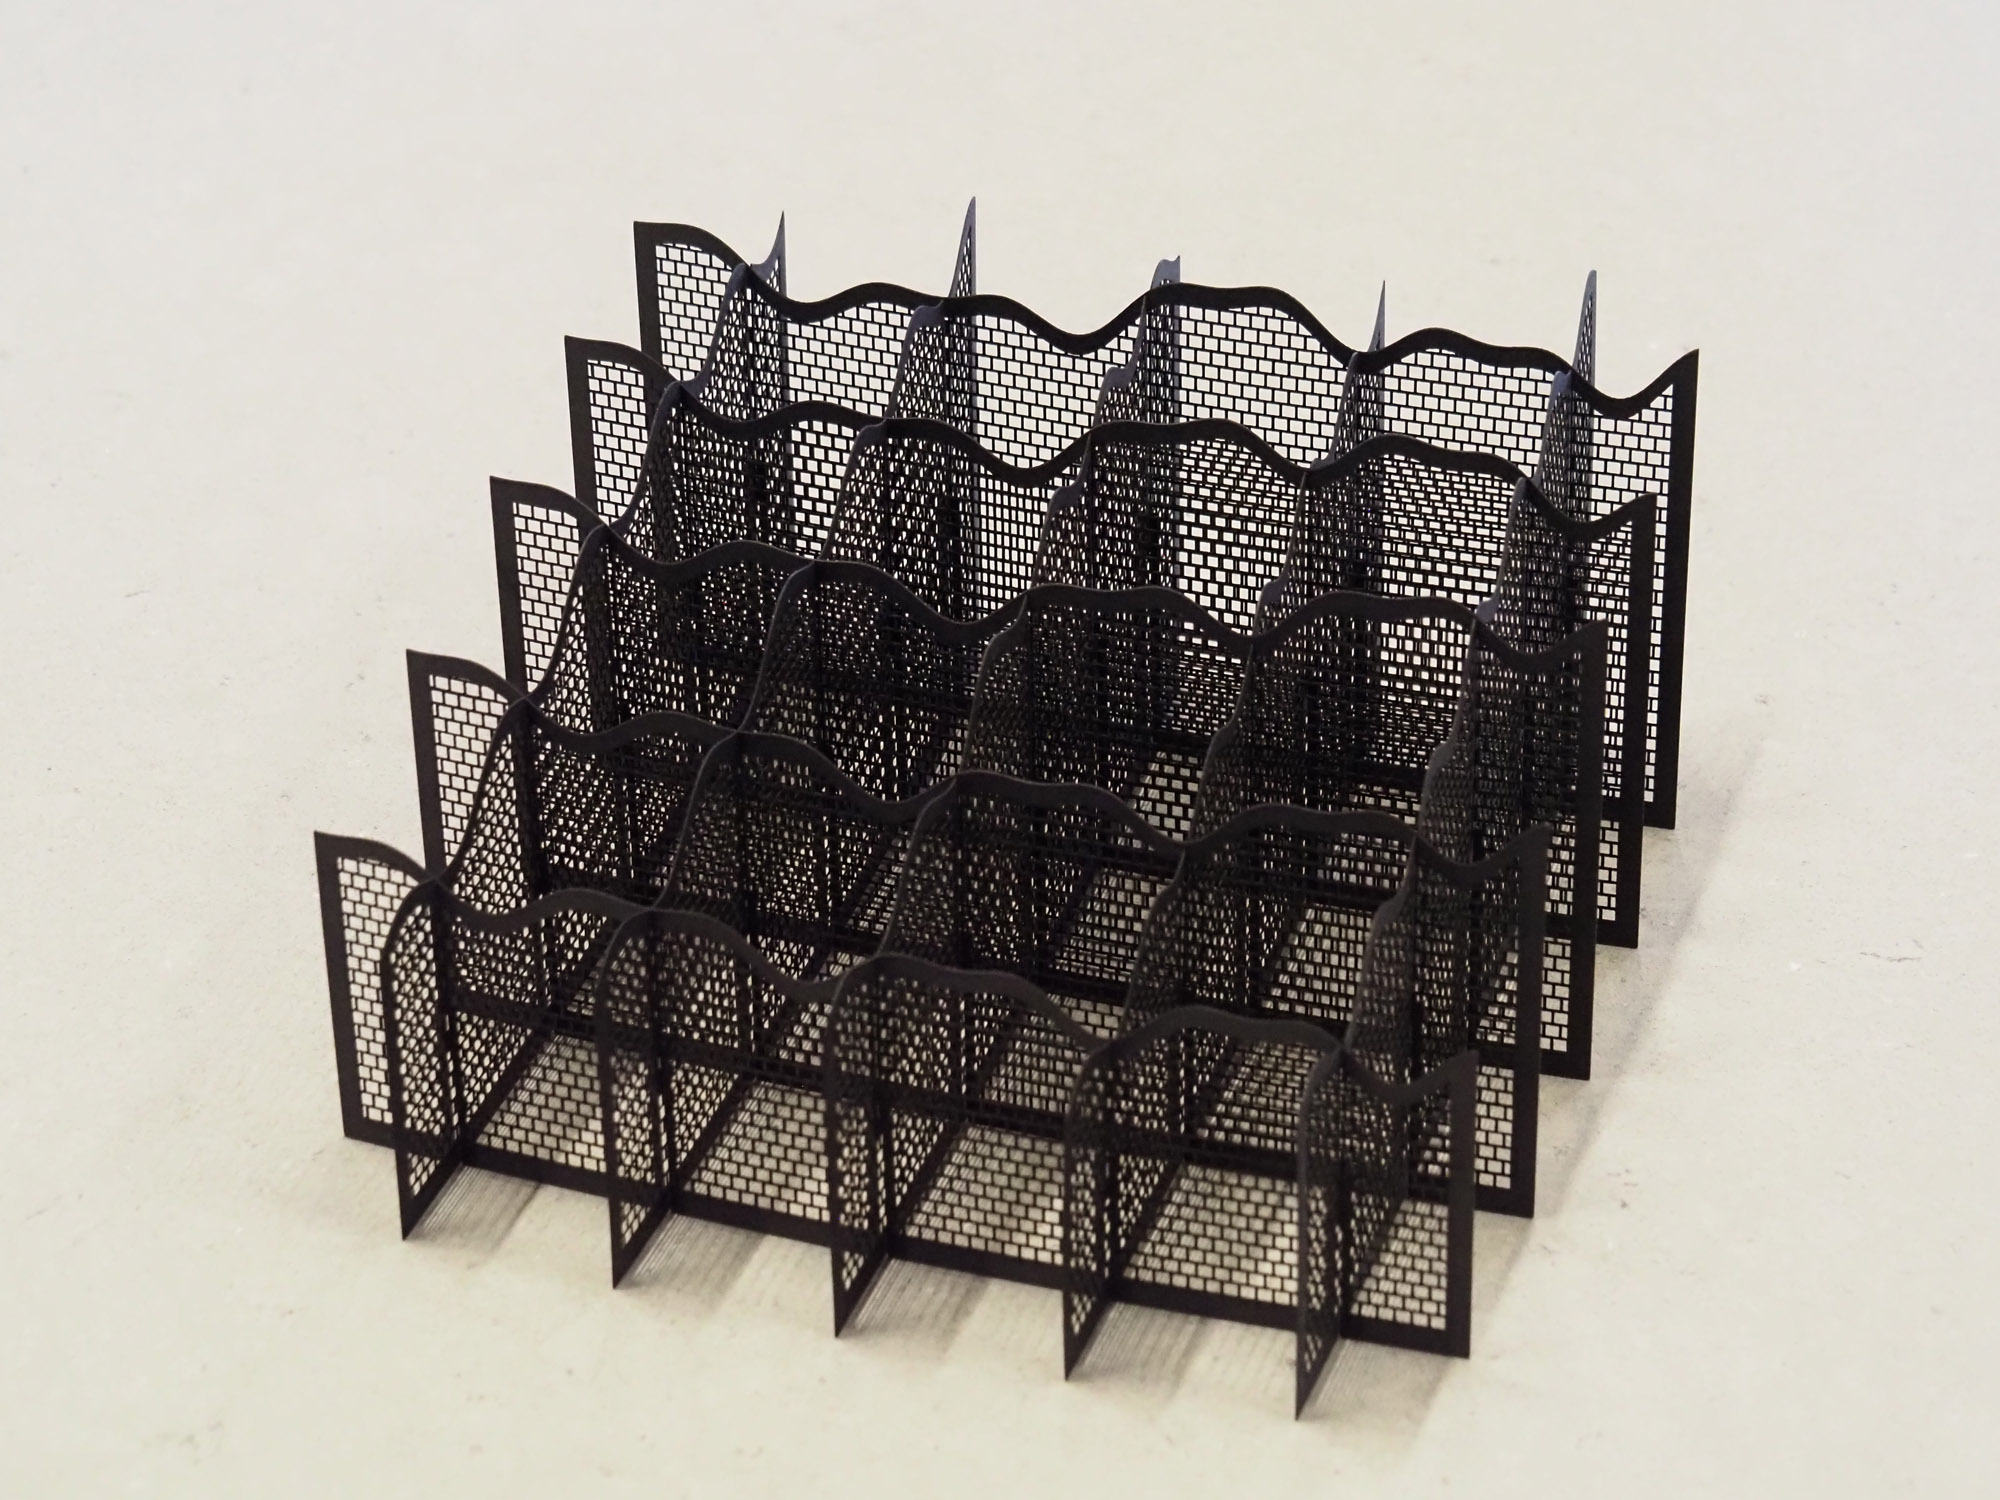
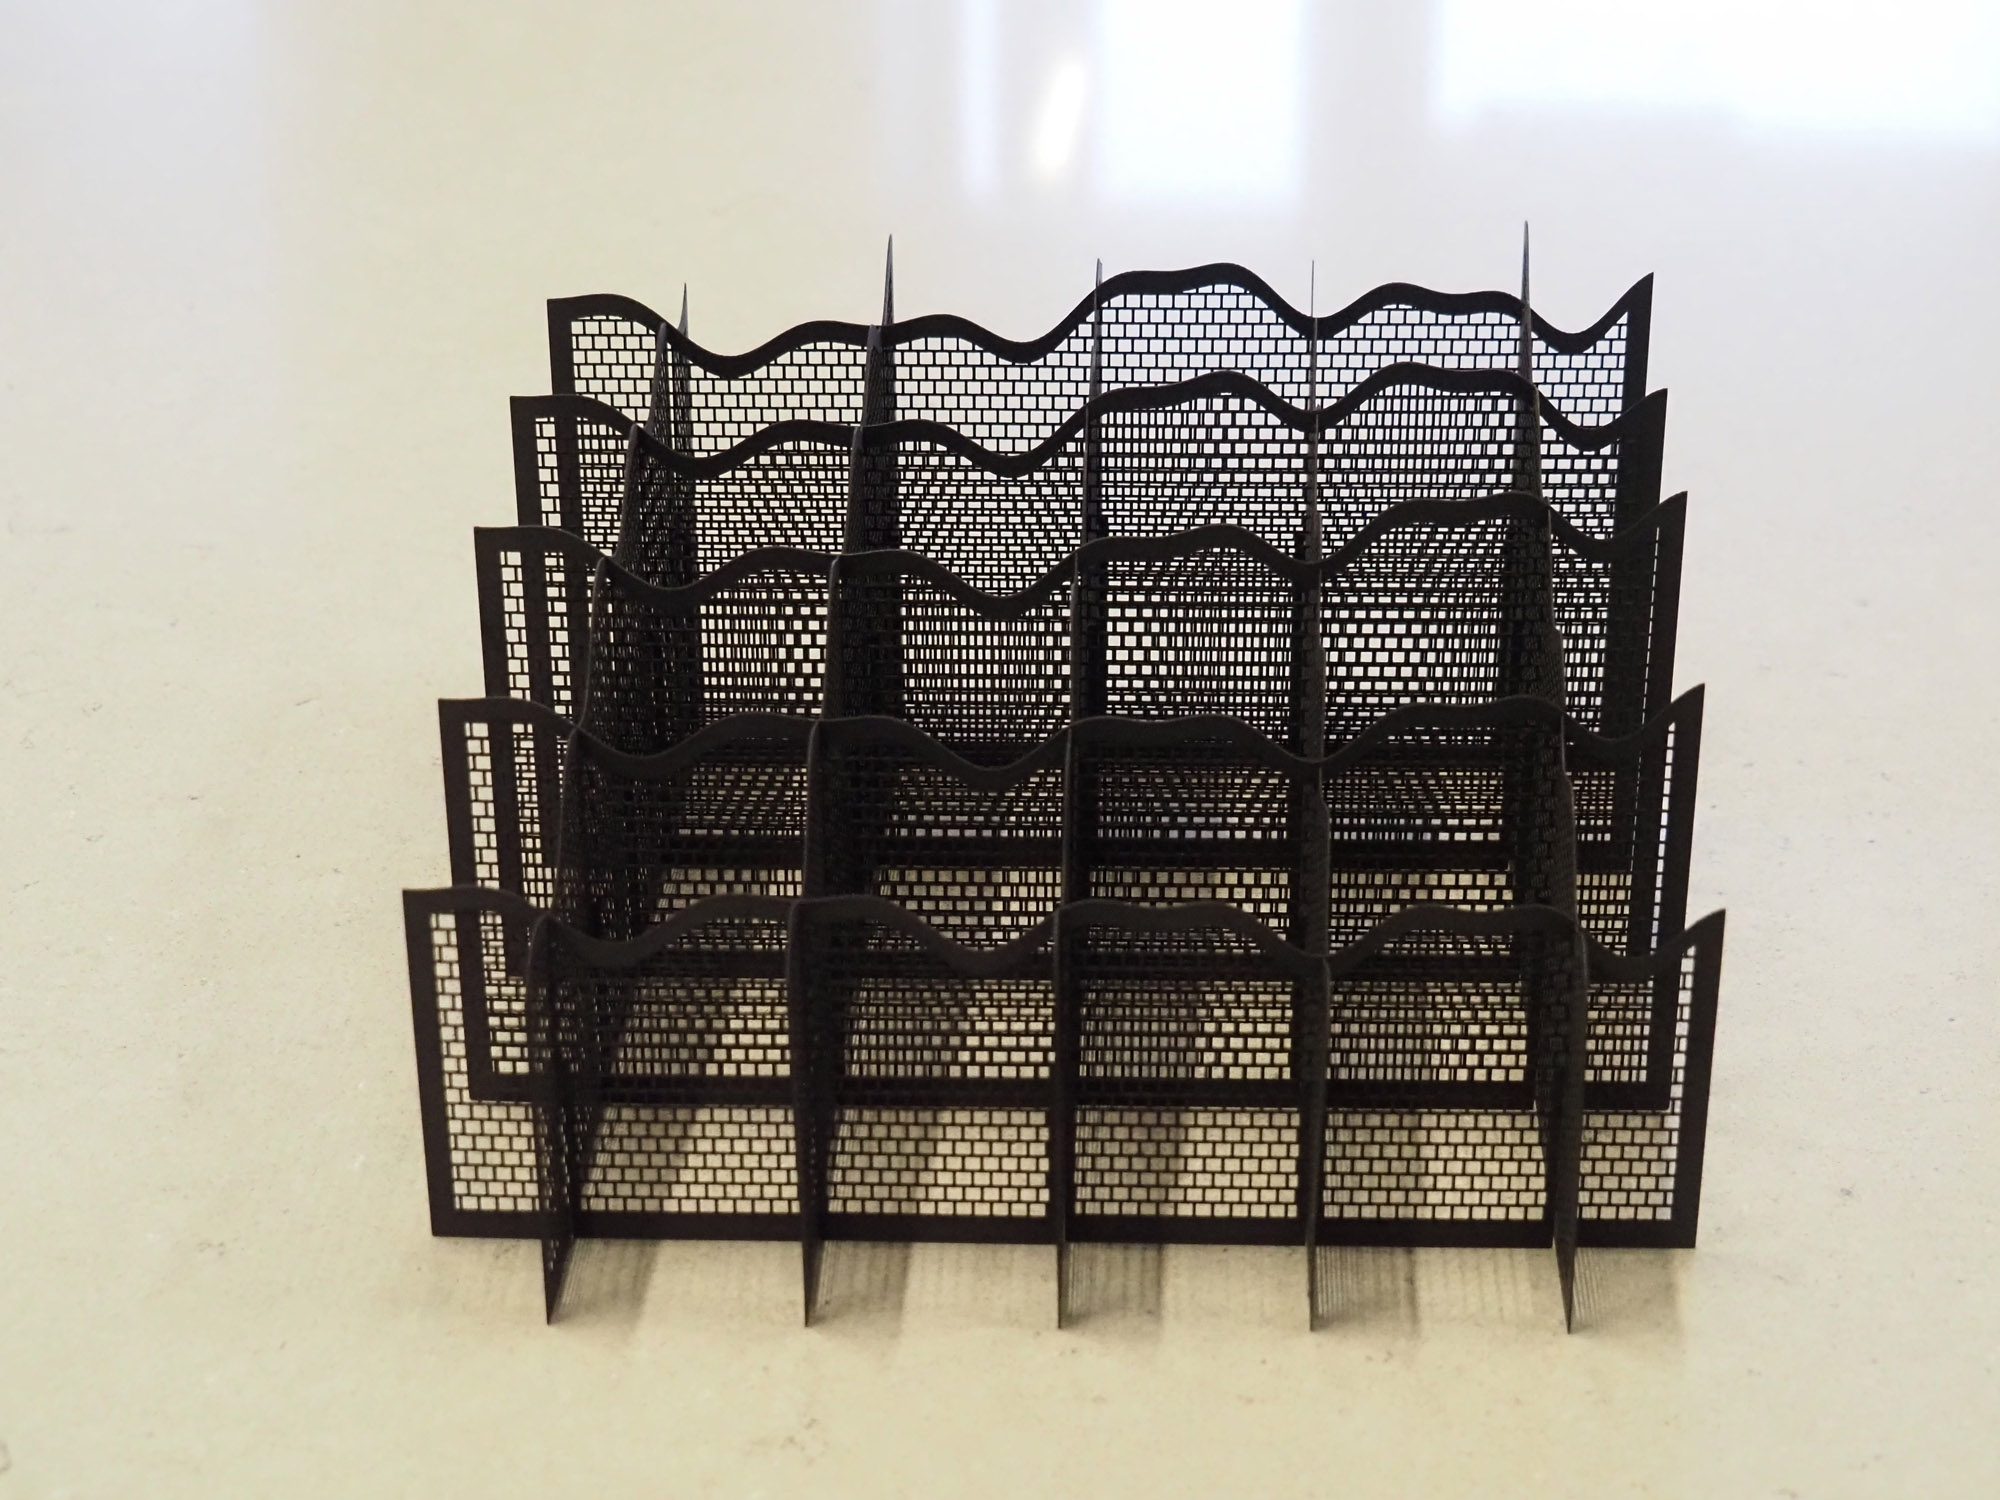
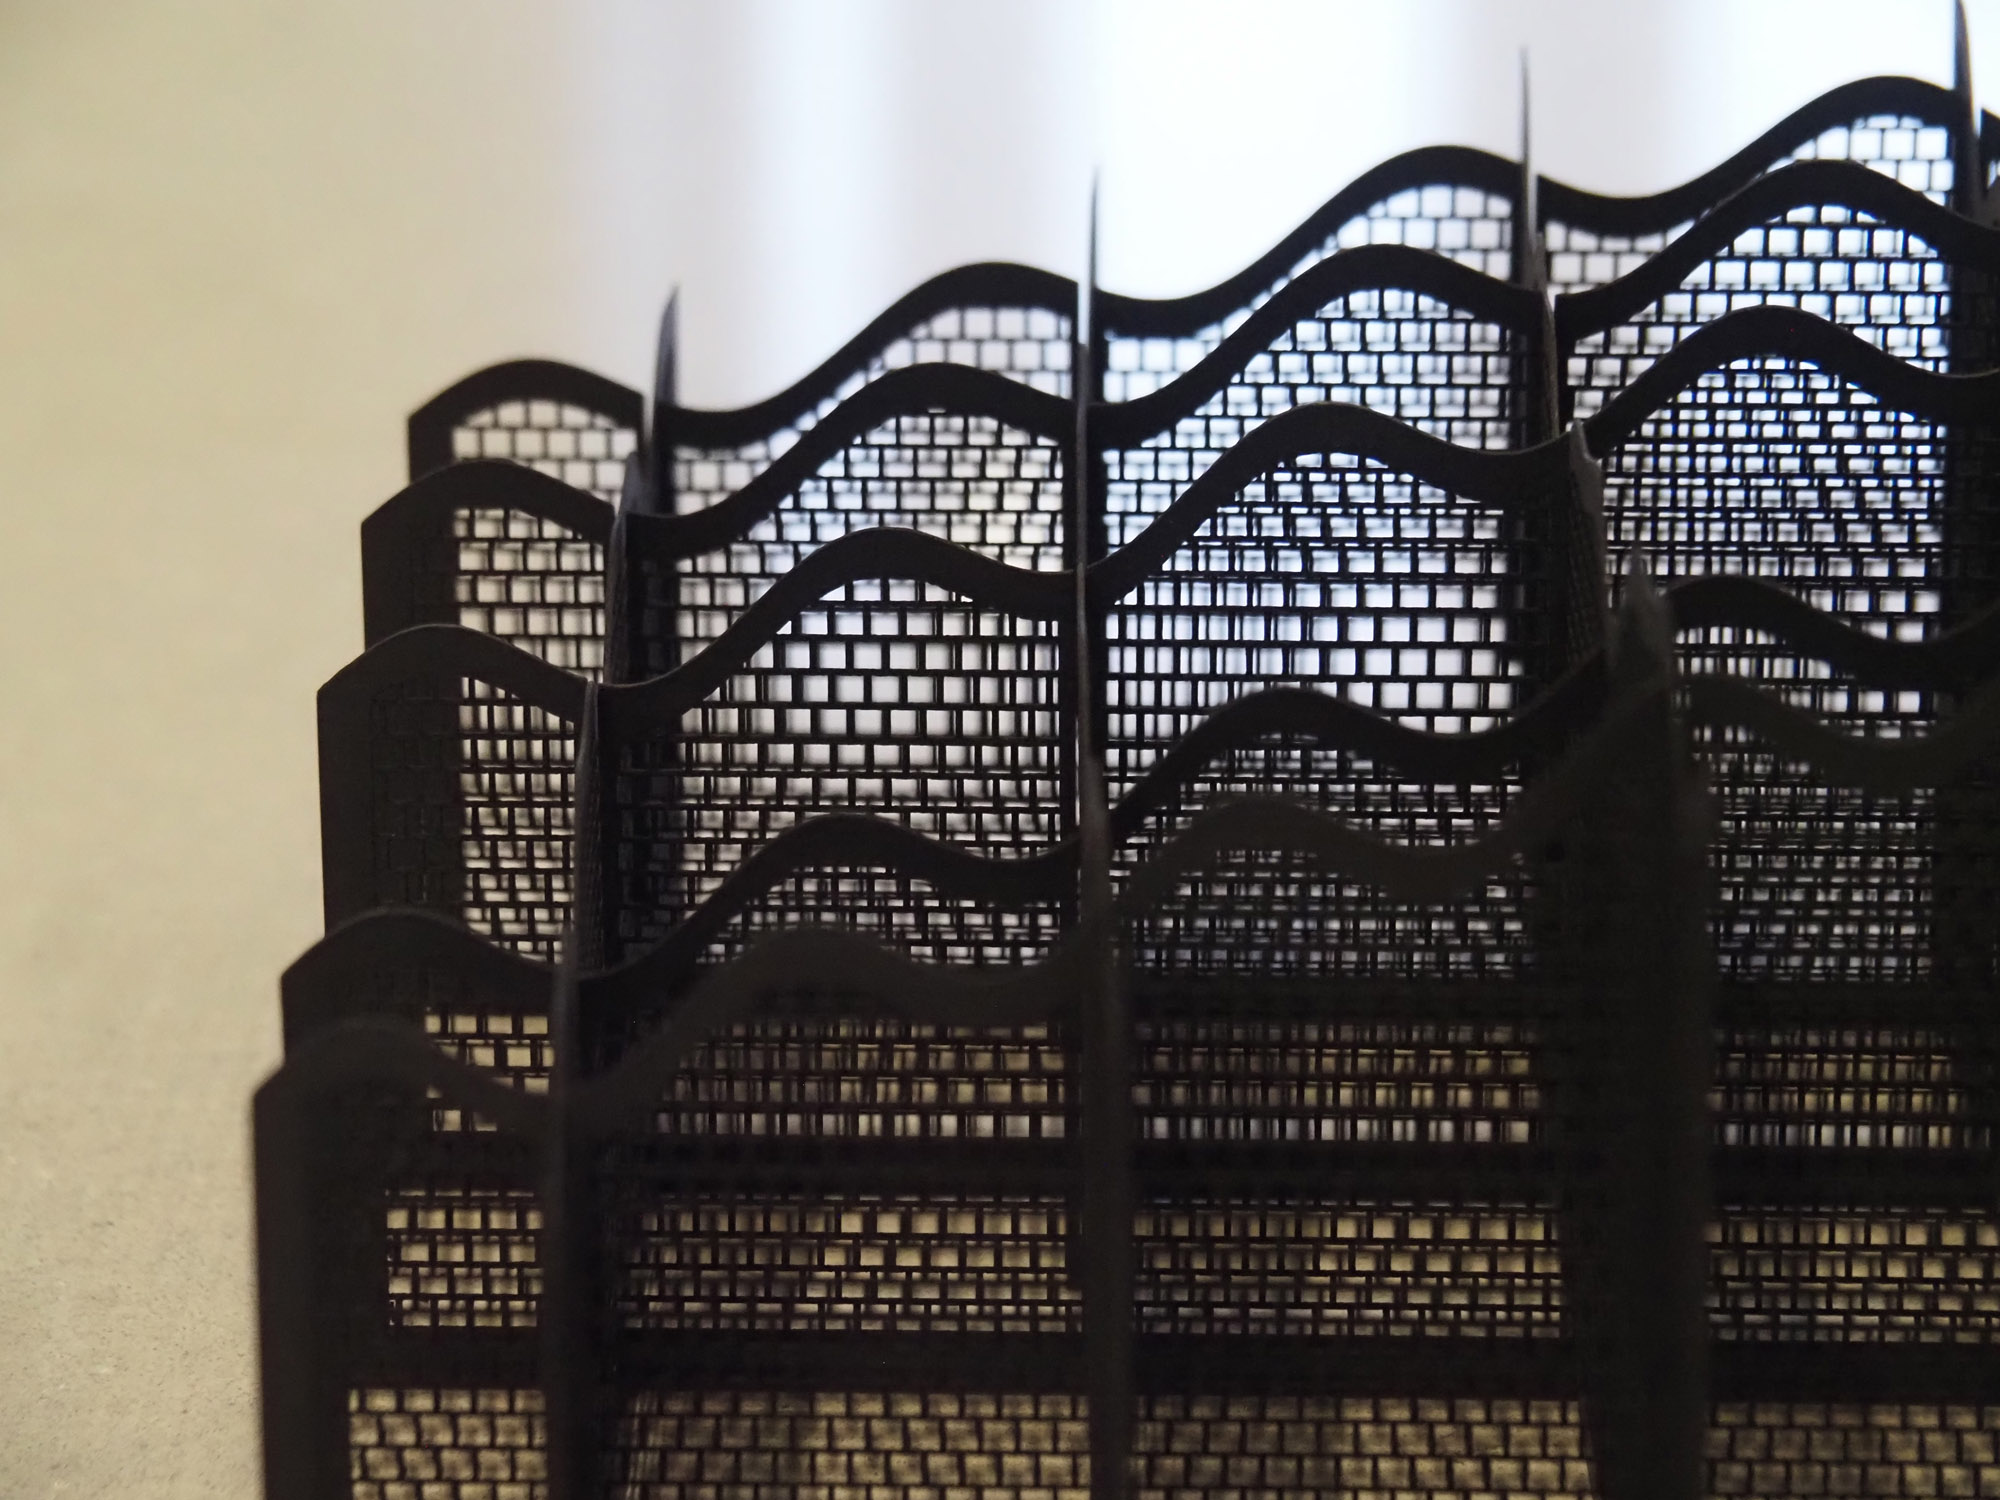
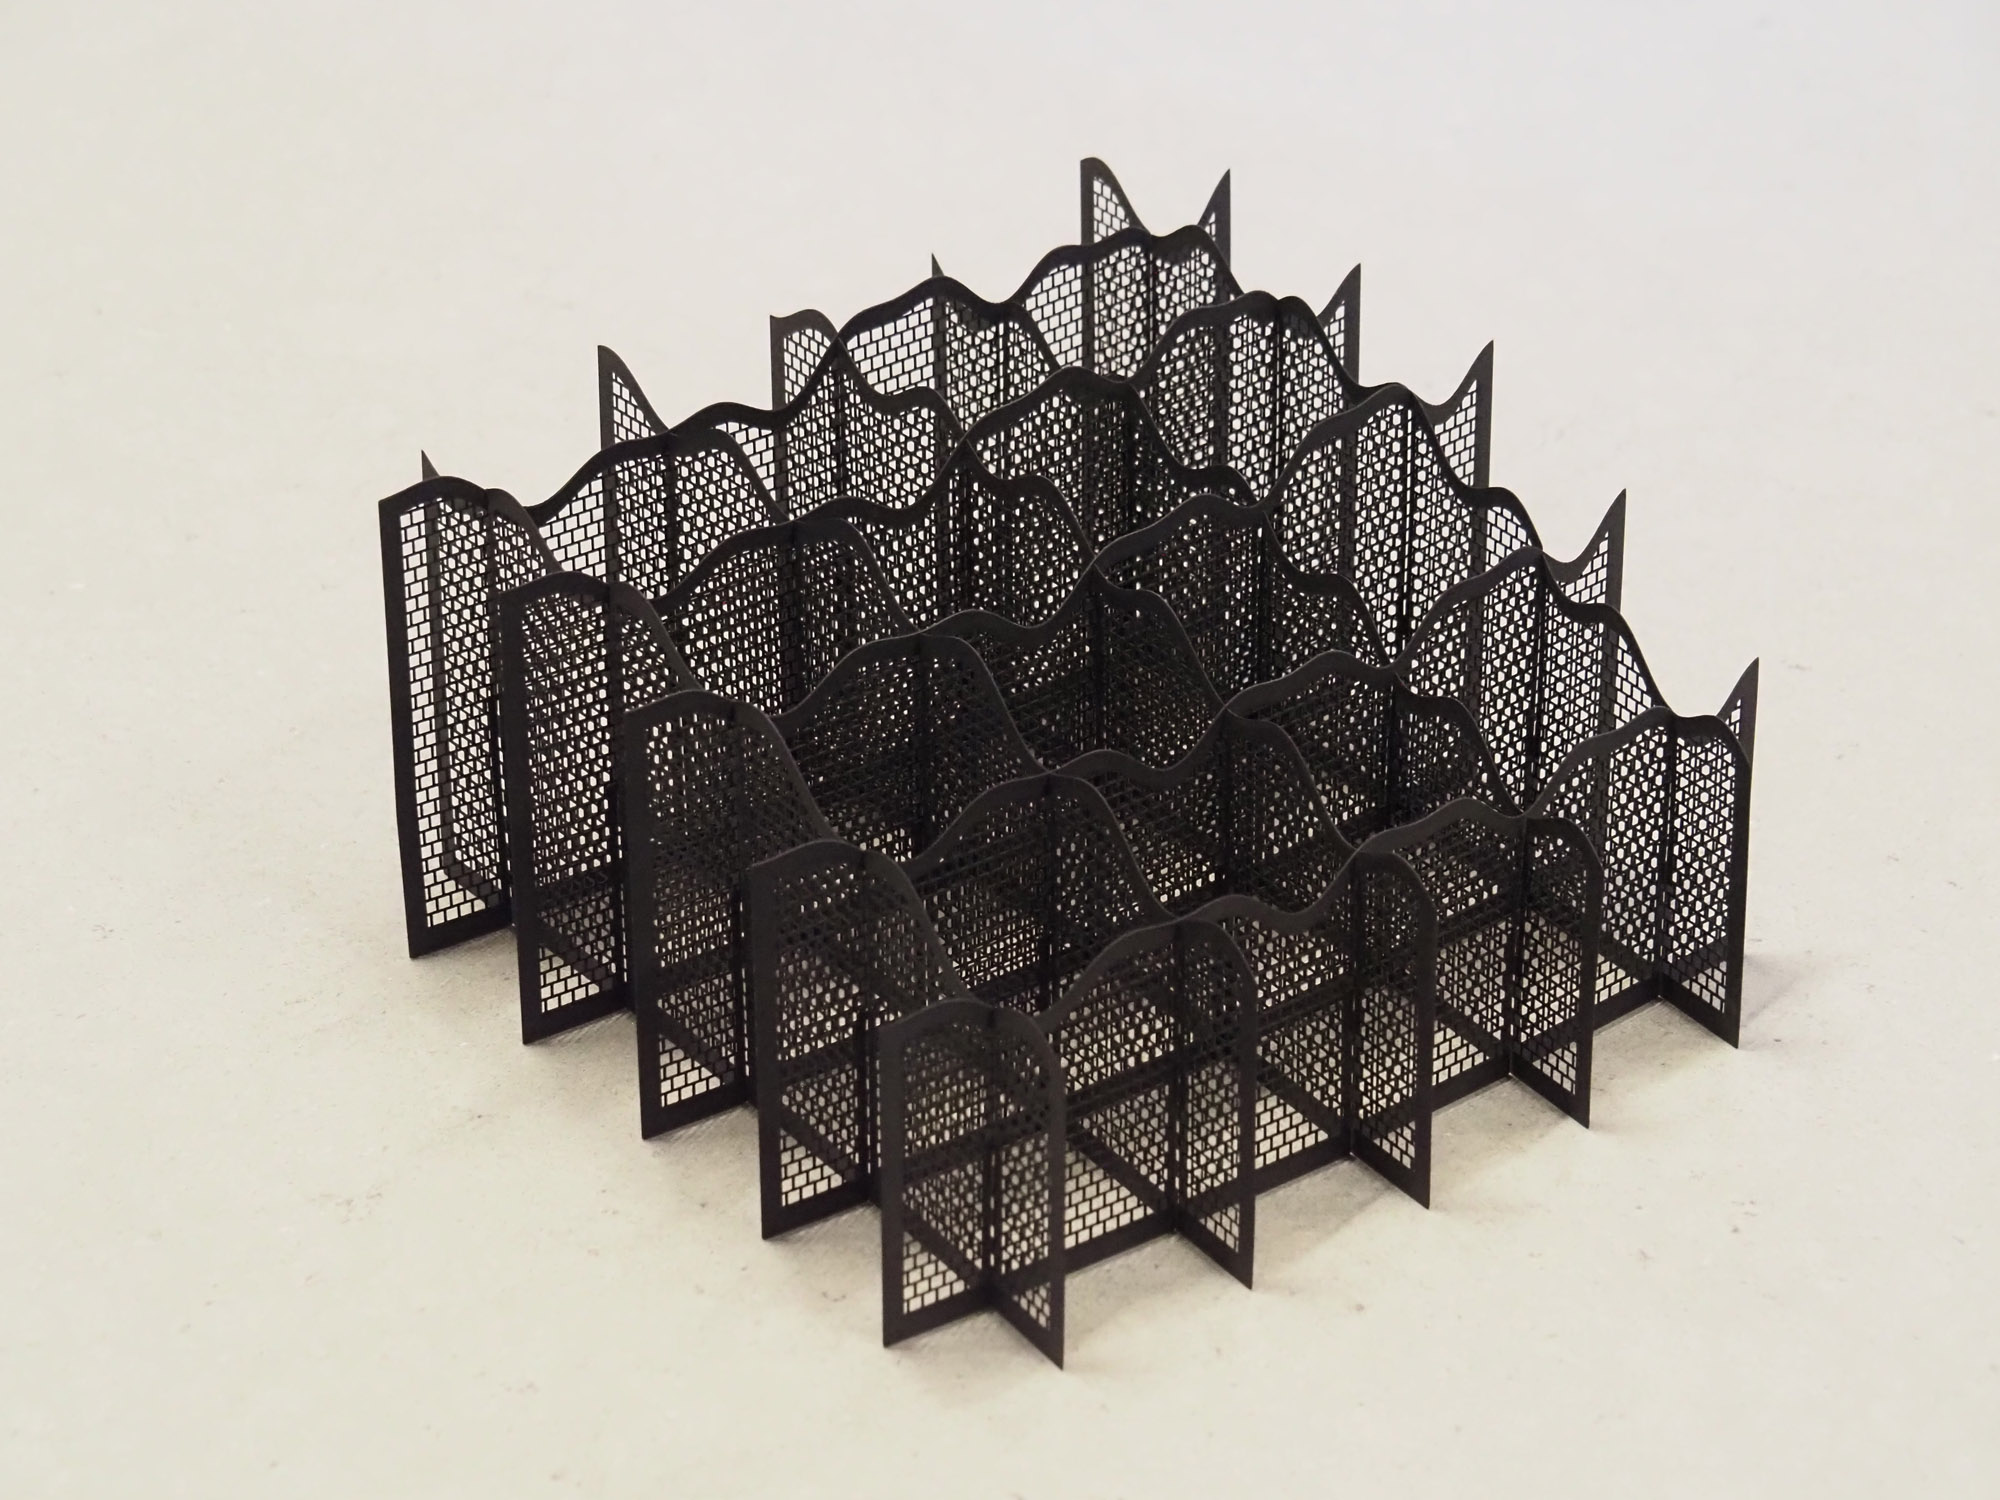
The first object has actually has two forms. One has rounded curves on top and the other resembles a city scape. What's interesting about these is that they are essentially the same object just that one has a simple mathematic function applied to it that converts it from curves to vertical orientation. Both of these are slideshows where the pictures can enlarged by clicking on the picture.

1 / 18
2 / 18
3 / 18
4 / 18
5 / 18
6 / 18
7 / 18
8 / 18
9 / 18
10 / 18
11 / 18
12 / 18
13 / 18
14 / 18
15 / 18
16 / 18
17 / 18
18 / 18
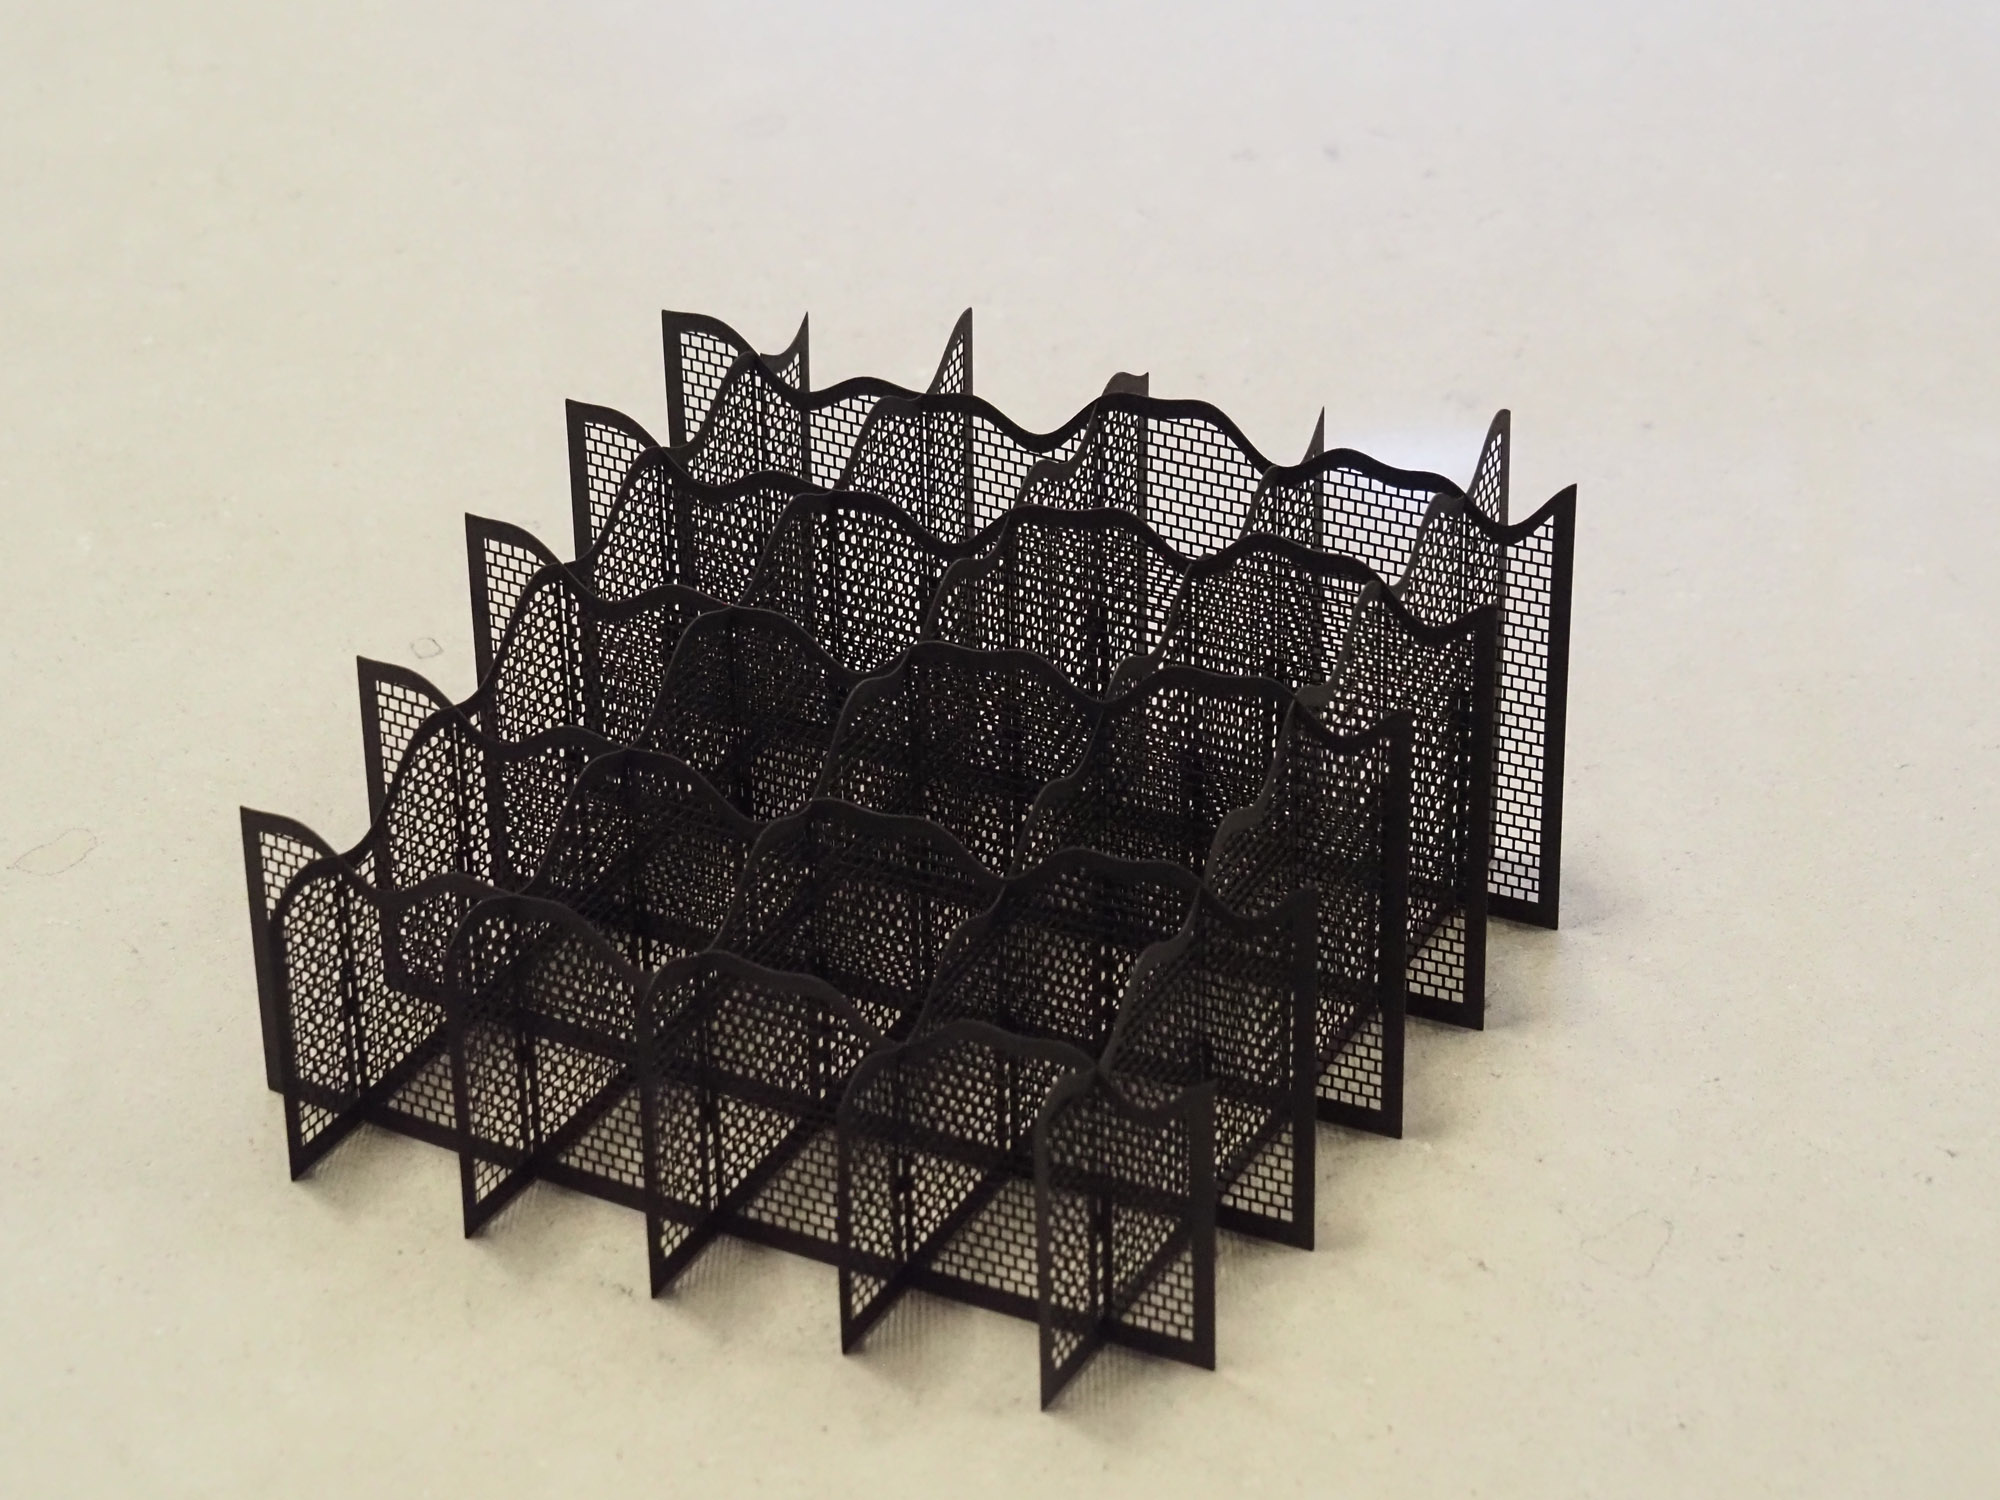
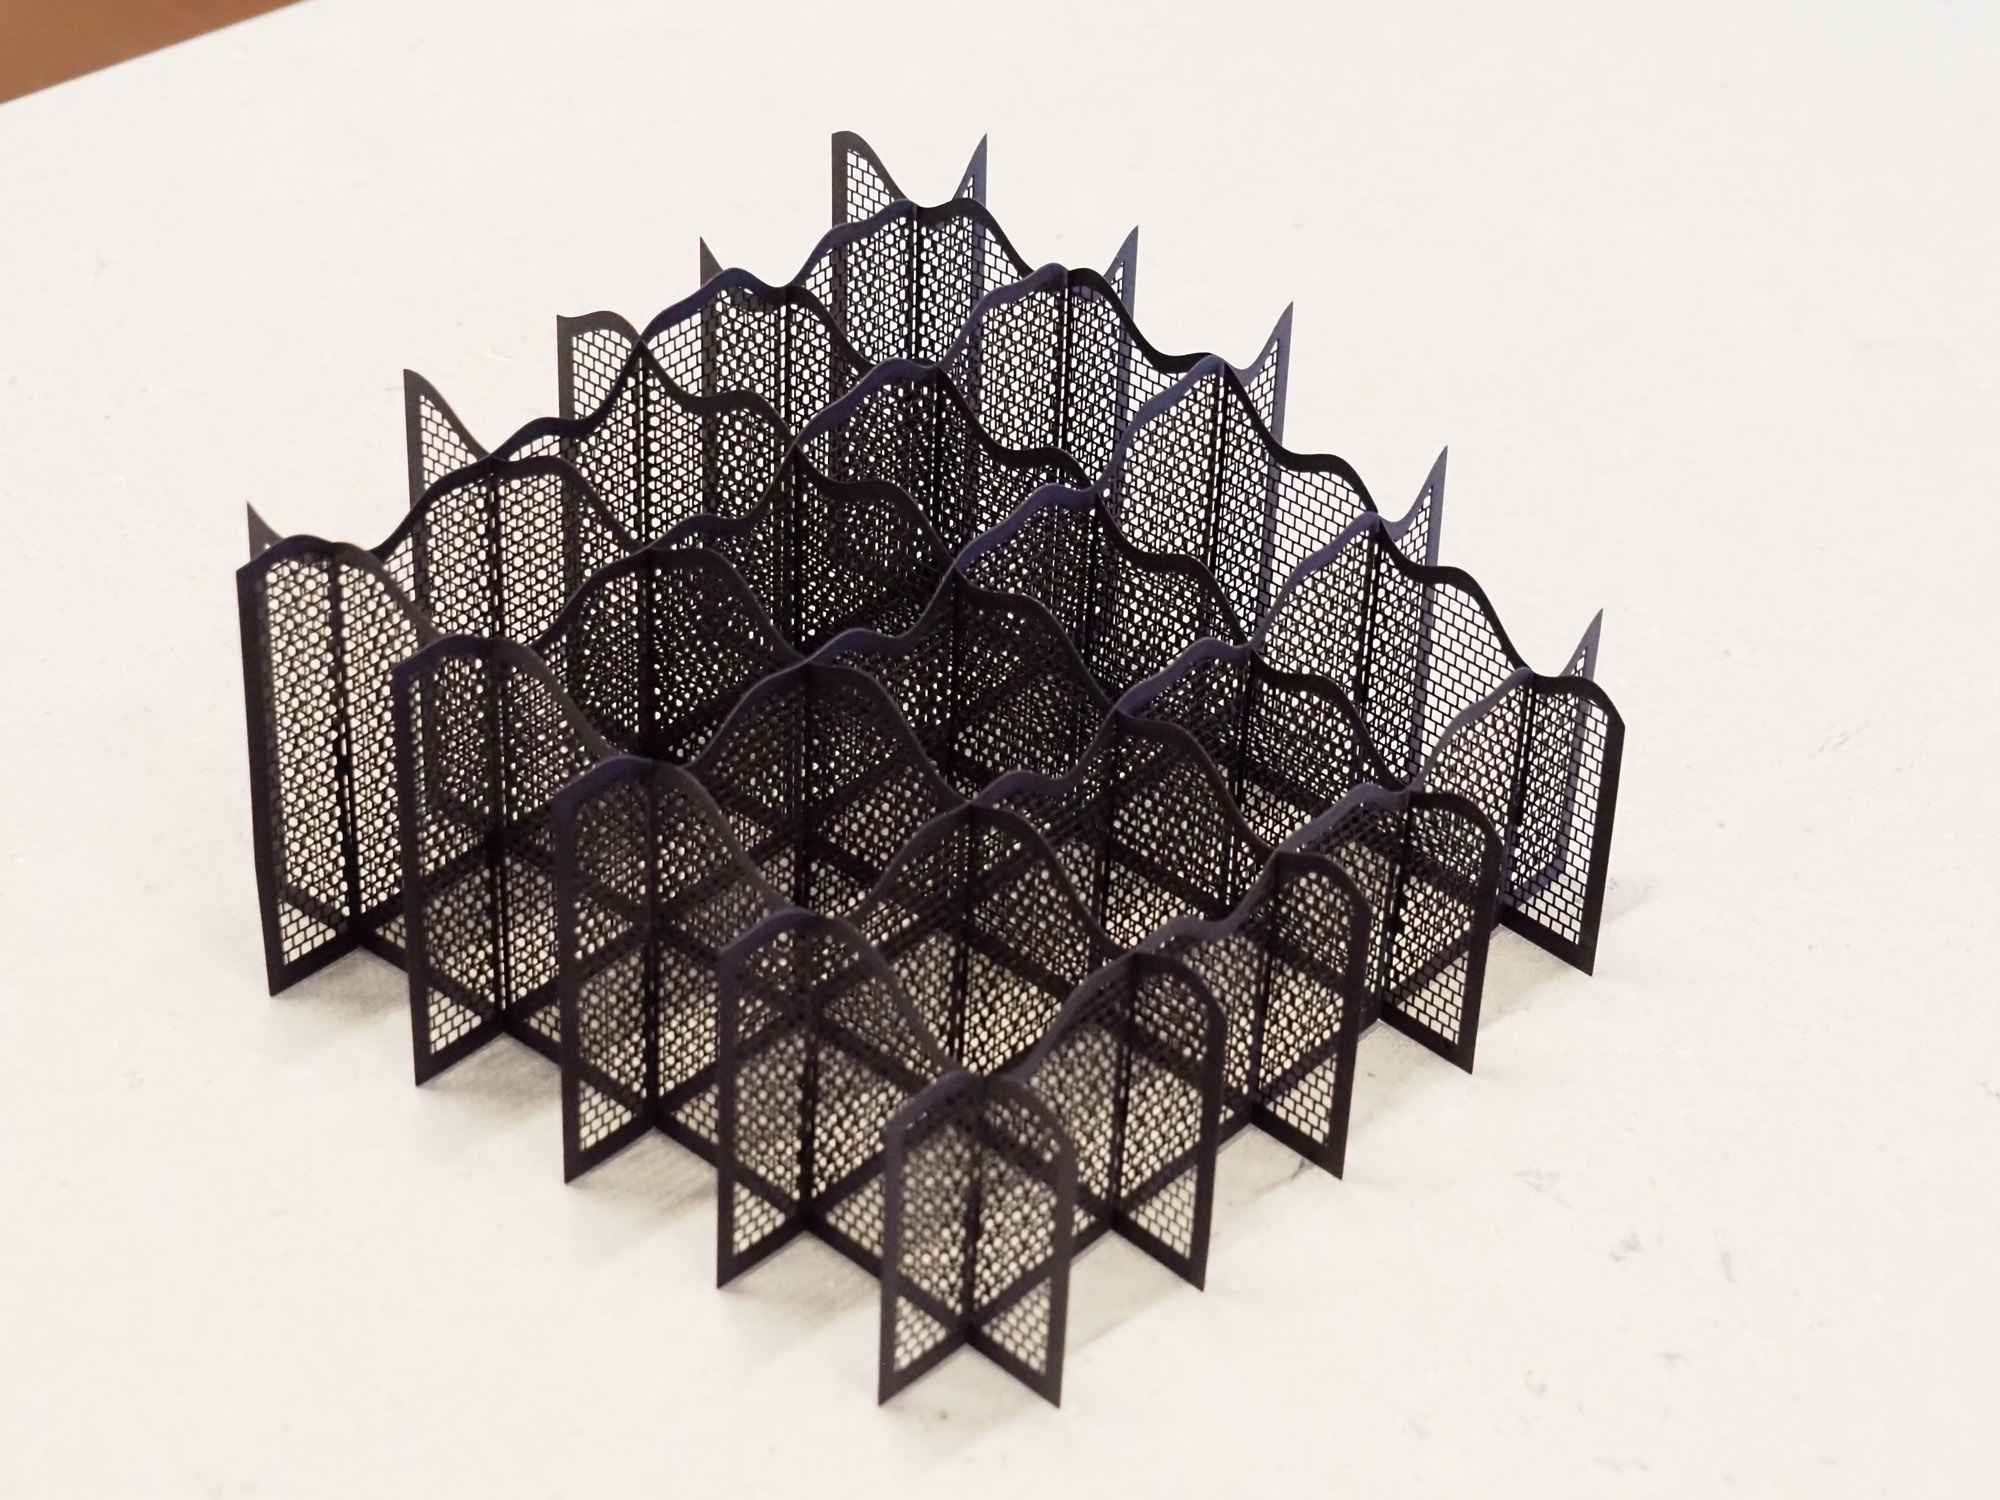
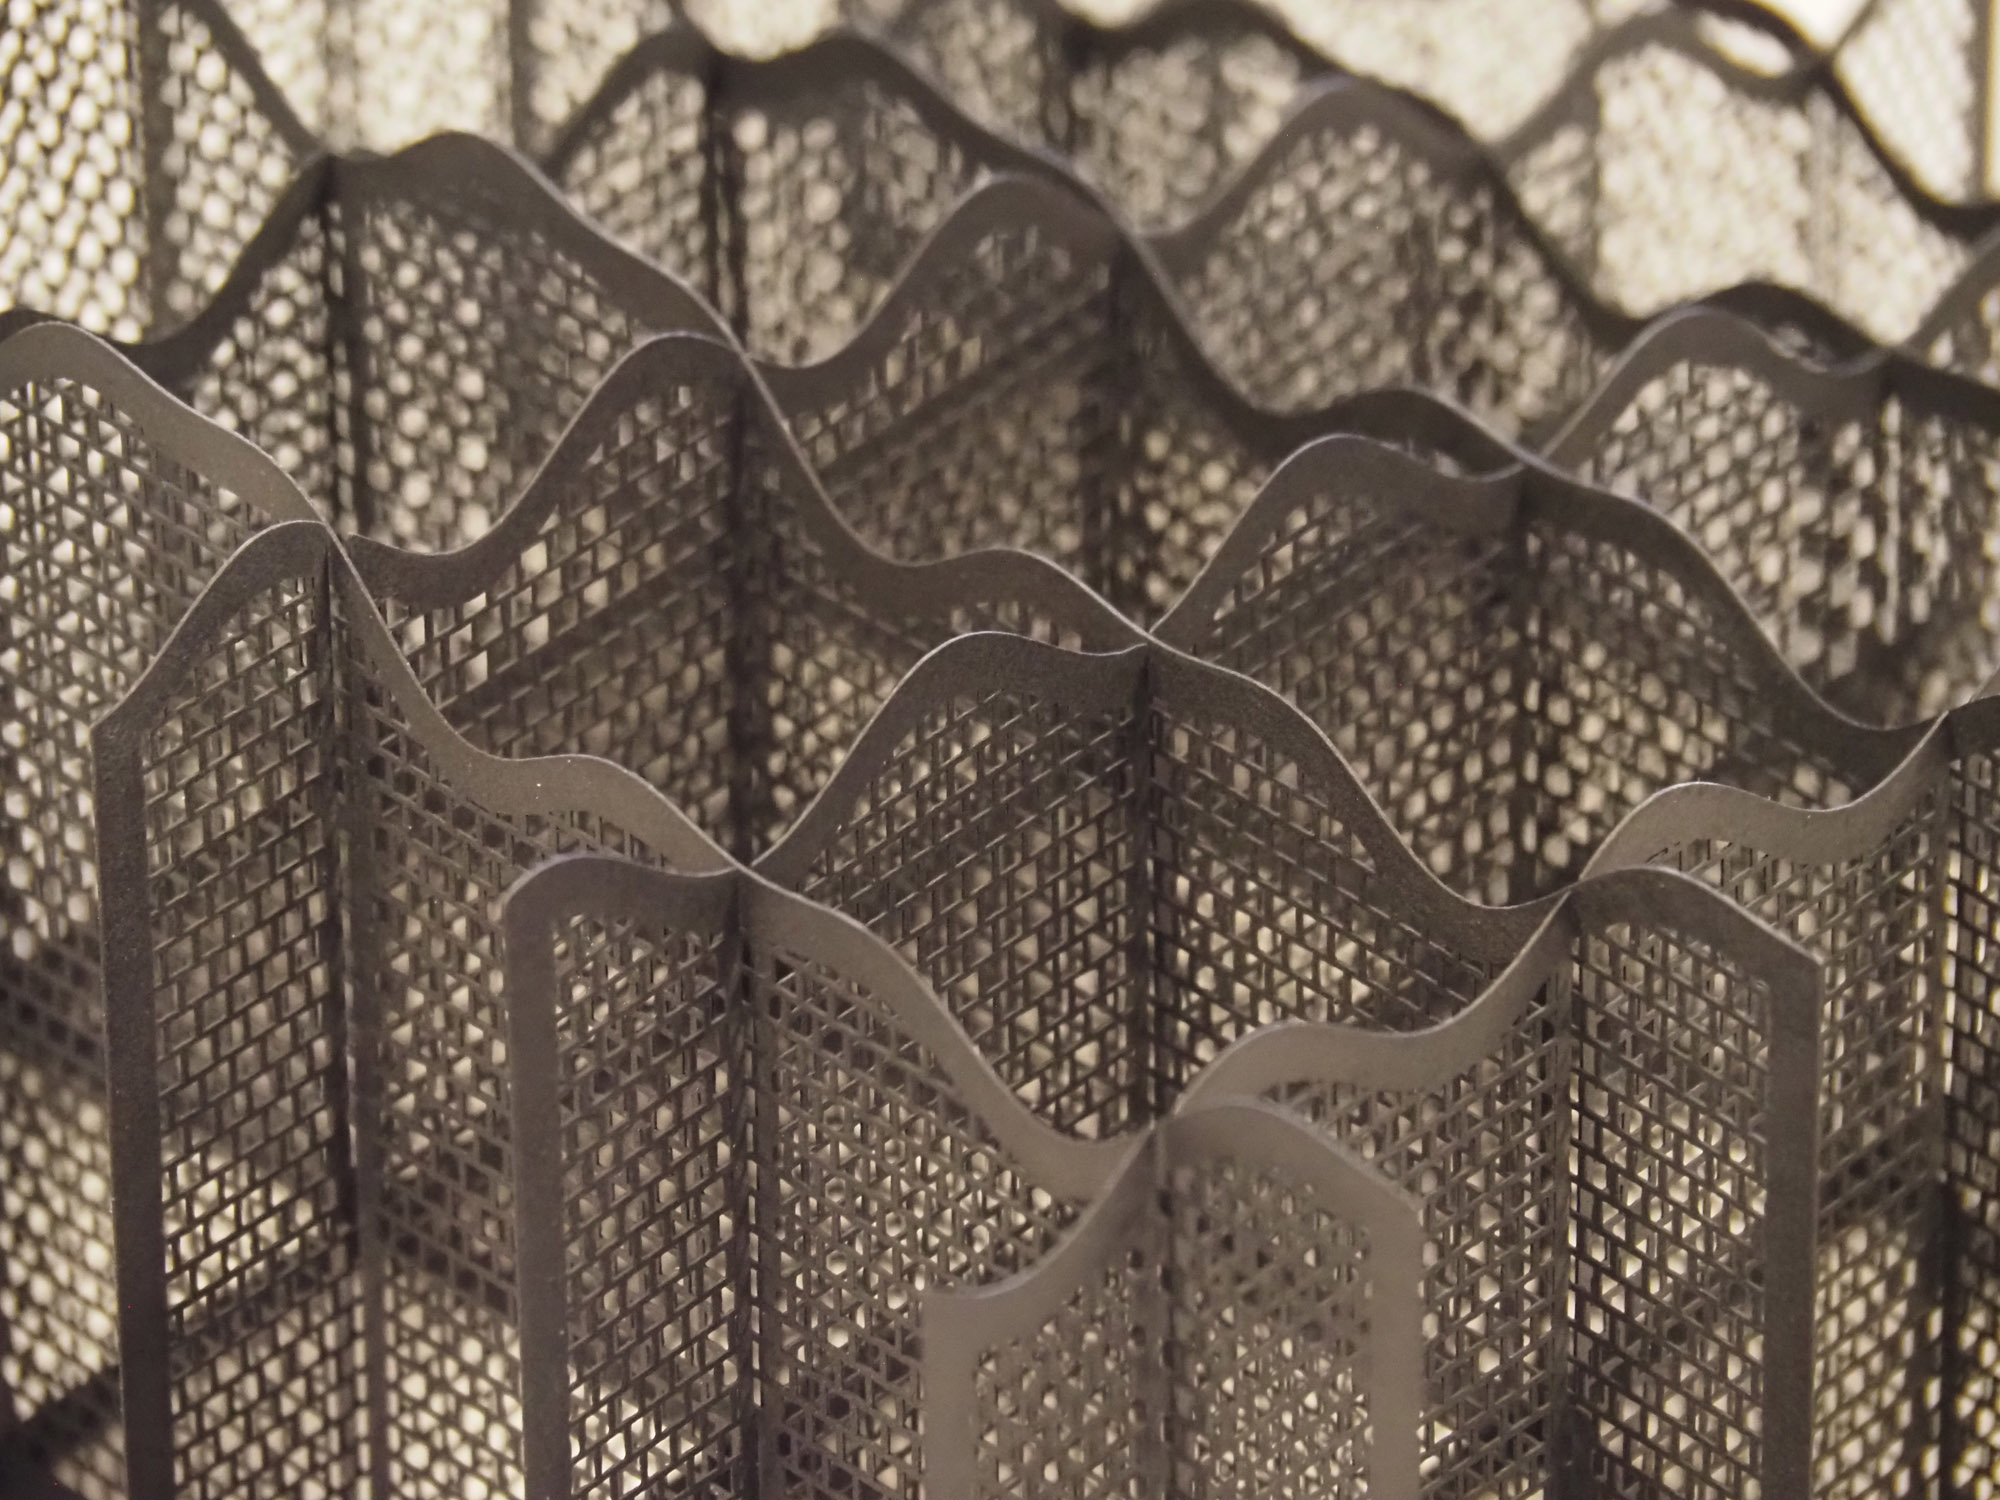
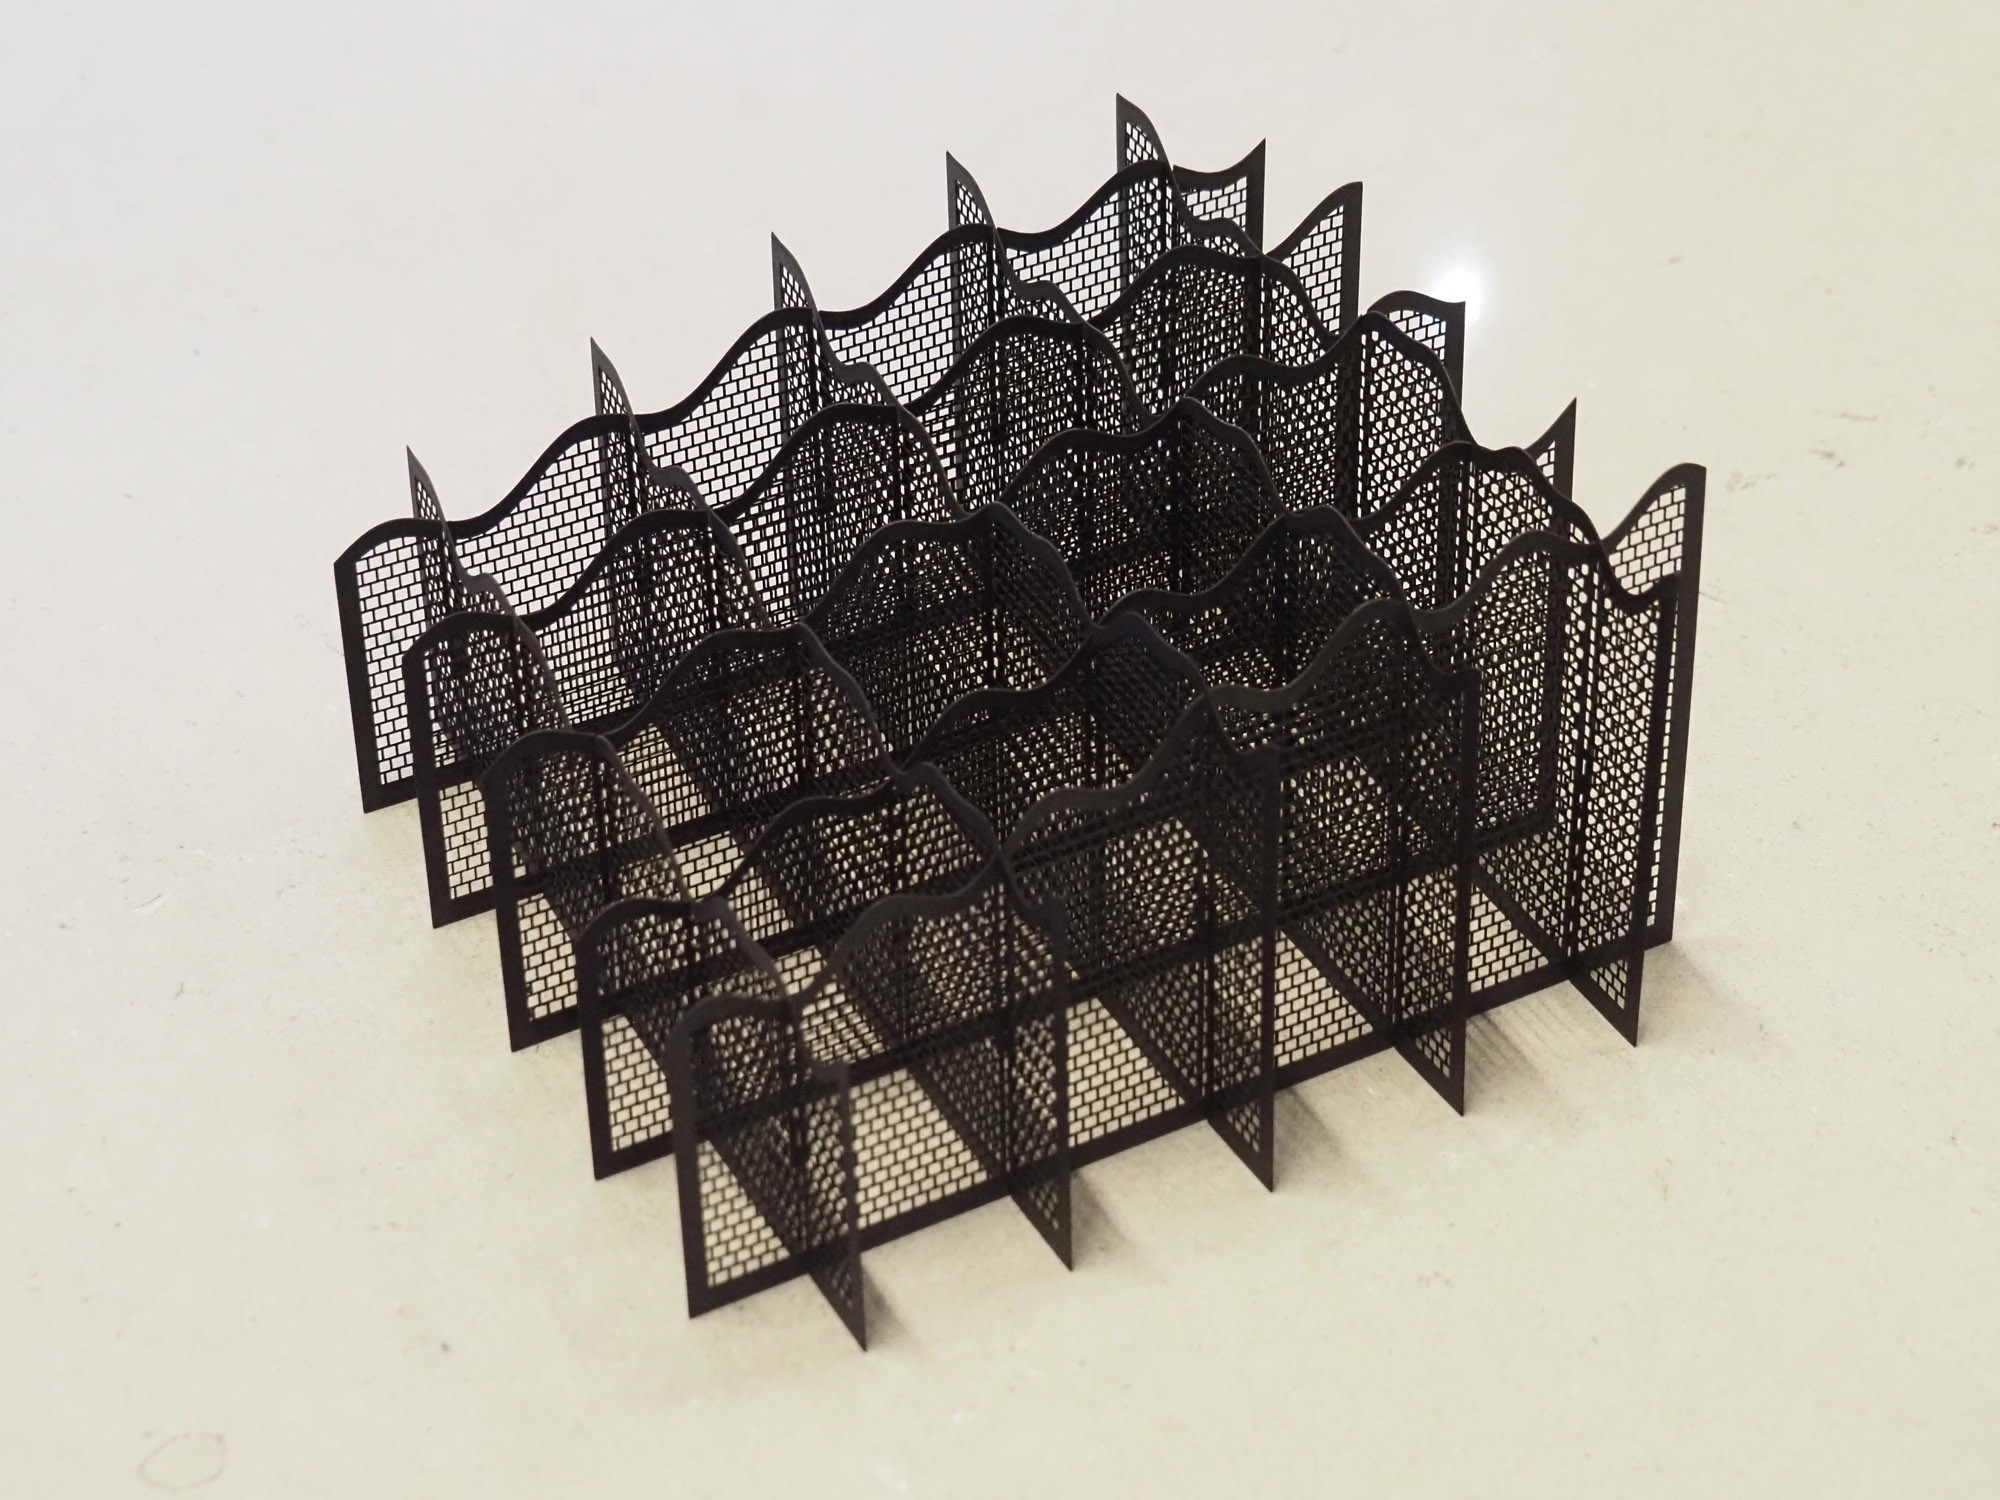
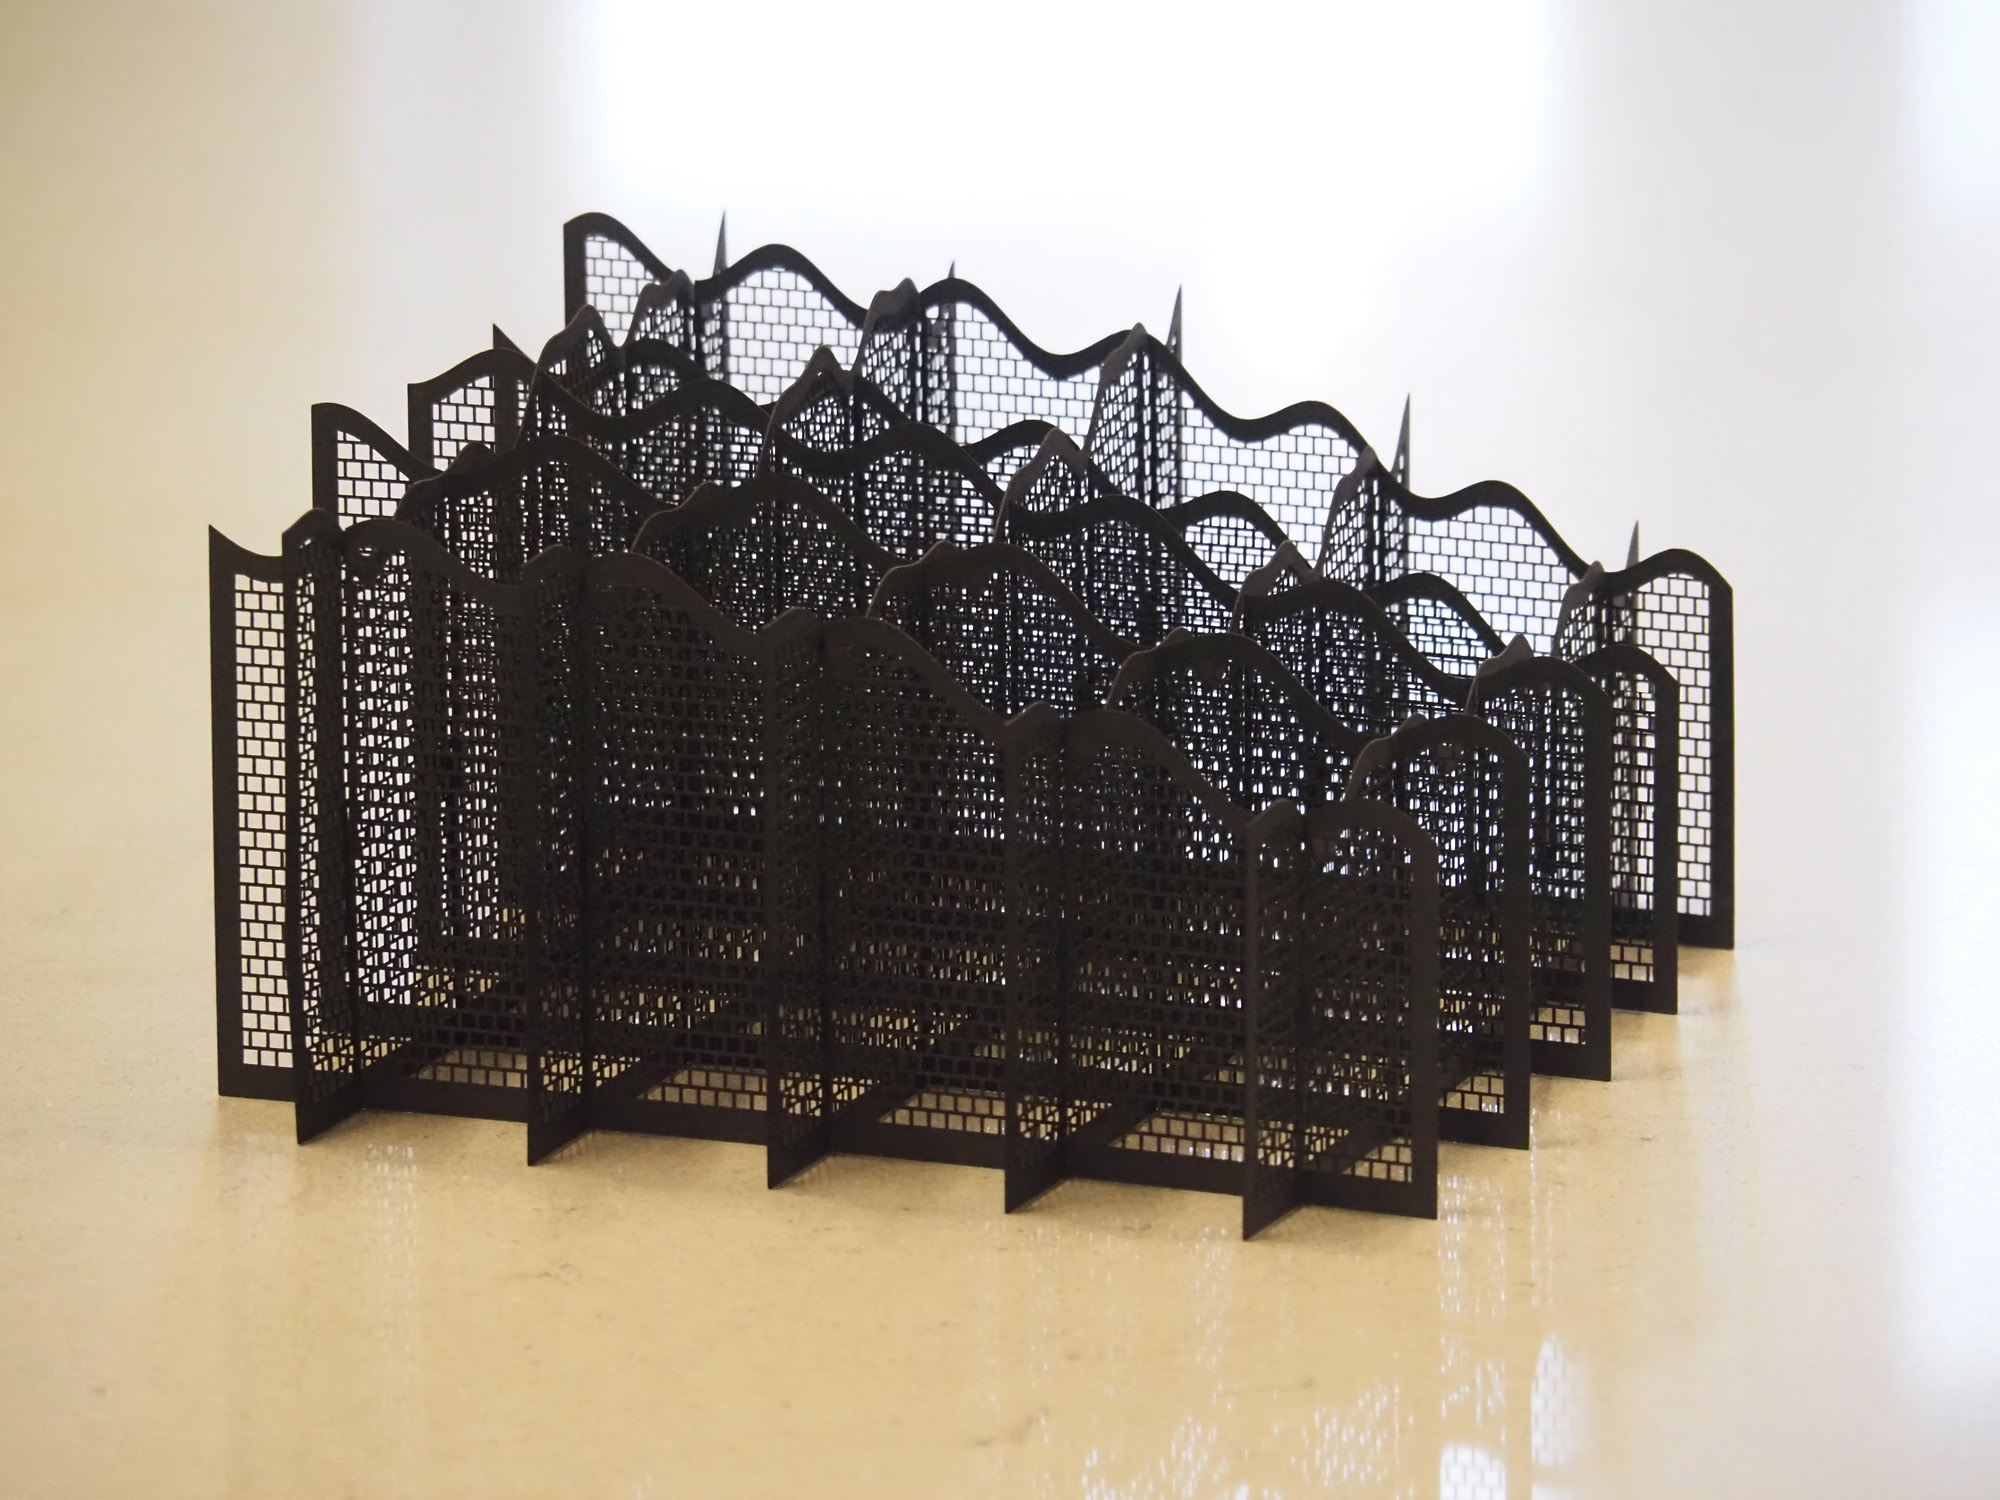
This second object is something I made for a friend. While similar in the mesh inlay parts, it's experimenting with different shape and curves. It seems to have worked out well.
The picture shows a plane that uses hexagons rather than squares. It hasn't yet been used in a complete object but it's going to be completed in the near future.
